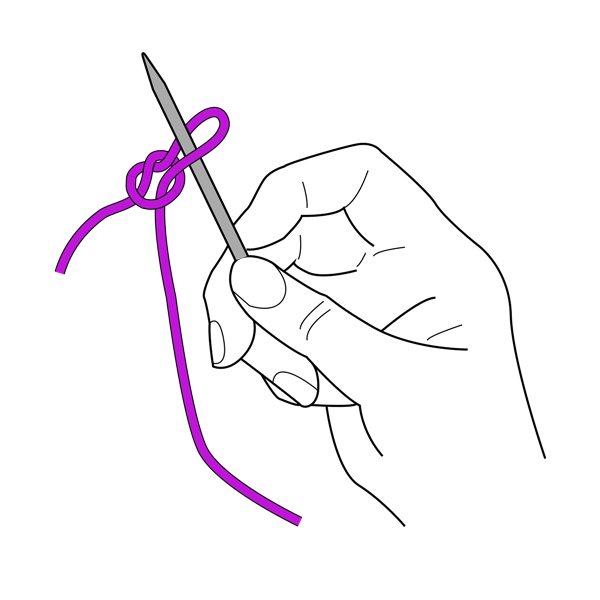
Once you have mastered the art of the basic knit and purl stitches, you are ready to venture out into the world of stitches that can be used to create texture in your knitted piece.
The slip stitch is often your next stop on your creative knitting adventure. The slip stitch is a basic stitch that
 Once you have mastered the art of the basic knit and purl stitches, you are ready to venture out into the world of stitches that can be used to create texture in your knitted piece.
The slip stitch is often your next stop on your creative knitting adventure. The slip stitch is a basic stitch that is easy to master. The simplest form of the slip stitch is simply passing a stitch from the left needle to the right needle without knitting it.
With this basic slip stitch you can add visual interest to your piece by either choosing to pass your working yarn behind the slipped stitch – meaning “with yarn in back” or wyib – or in front of the slipped stitch – meaning “with yarn in the front” or wyif. Passing with the yarn in front is simple to accomplish: before slipping your stitch, bring your yarn to the front, as if you were about to purl. Then simply slip your stitch from left-to-right and then return the yarn to the back to the work. This causes a decorative horizontal “bar” that can be used to create a very pleasing woven cloth like appearance.
When you come to the slipped stitch on the next row, you’ll knit it as normal. Once you have done this, you’ll see that the slipped stitch is now twice as tall as the stitches next to it. This is a convenient way to bring color from a previous row up into the new row, or to make a vertical column of tall stitches. To create the column of tall stitches, just be sure to work your slipped stitches in the same place every other row.
As you continue on your knitting adventures, you’ll see the slip stitch continue to show up in a variety of ways. The slip stitch is particularly useful when needing to decrease the number of stitches on your needles. The most popular decrease using the slip stitch is the “SSK” or “slip, slip, knit.” To work the SSK, slip one stitch “as if to knit” to the right-hand needle, repeat once more. Next, insert your left needle into the front of both slipped stitches and knit. This will create a nice left leaning decrease that mirrors the popular K2TOG right leaning decrease.
The slip stitch will continue to show up in your knitting adventures, as it’s an endlessly useful stitch. As you keep adventuring through the various knitting patterns, the slip stitch will help you decrease, create texture, add color and help shape your piece. Just remember to follow your pattern and treat each slipped stitch properly. How you move it from needle to needle matters, so always refer to your pattern. If the pattern does not indicate how to slip your stitch, most knitters assume “slip as if to purl.”

