

Once you’re done working up a cozy pillow cover to make that chair or couch more comfortable, you’ll need to know how to seam that pillow shut. It is possible to just sew it or hand-stitch it closed, but when you want to avoid an obvious seam and make everything appear as uniform as possible,
Once you’re done working up a cozy pillow cover to make that chair or couch more comfortable, you’ll need to know how to seam that pillow shut. It is possible to just sew it or hand-stitch it closed, but when you want to avoid an obvious seam and make everything appear as uniform as possible, there are certain techniques to follow. This hand-seaming method is a great way to work with bulky yarn in seaming everything so that your finished product looks as great as possible.
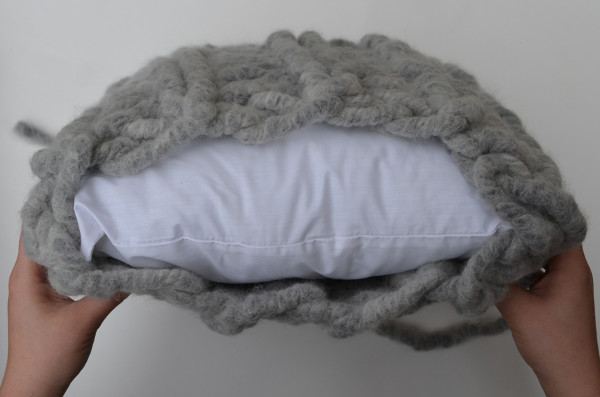
Turn your pillow inside out so that the seam from the other end is on the inside. Since both stitch patterns are reversible, this won’t be an issue. Insert your pillow form.

Now, we’ll begin seaming the final open section of the pillow. If you bound off the other end as well, you’ll need to seam one side and then the other. In this example, one end was bound off using the three needle bind off method, so only one side remains to be seamed.
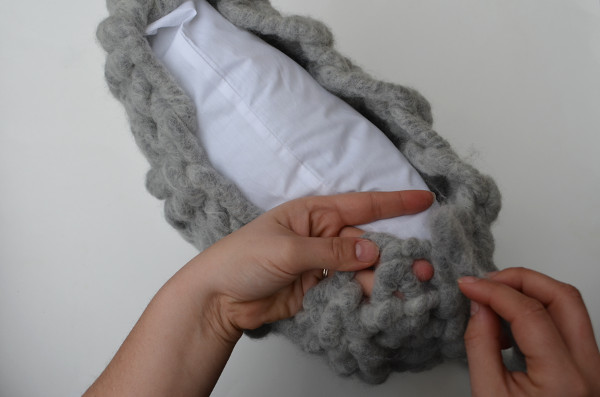
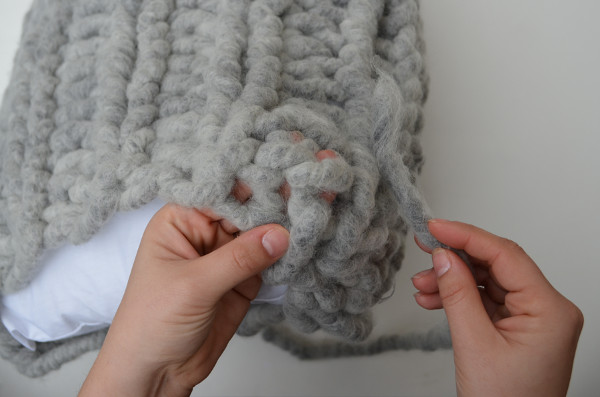
Begin at the corner where the cast on tail is. If your cast on tail isn’t long enough simple cut off another length of yarn about 30” long to use, and leave a few inches out to weave in later. Begin by finding the stitch closest to the tail.
Pull the tail behind both sides of the stitch.
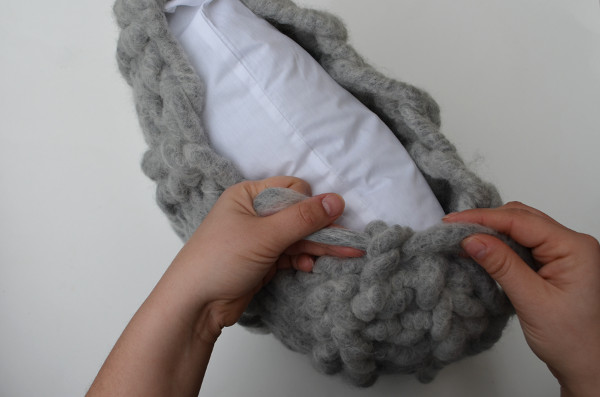
Now find the stitch that is closest to the edge on the other side of the pillow.
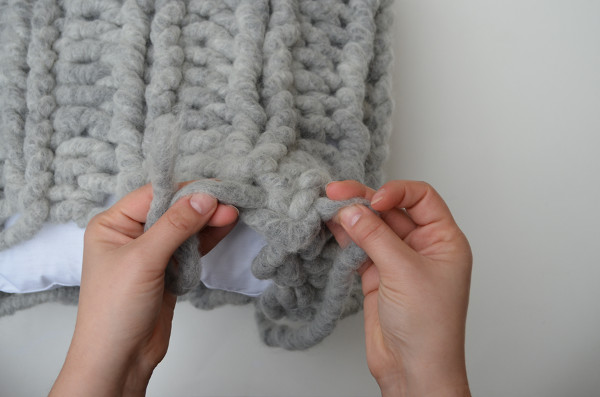
Again, pull the yarn through the back of the stitch, making sure to go through both sides of the stitch.
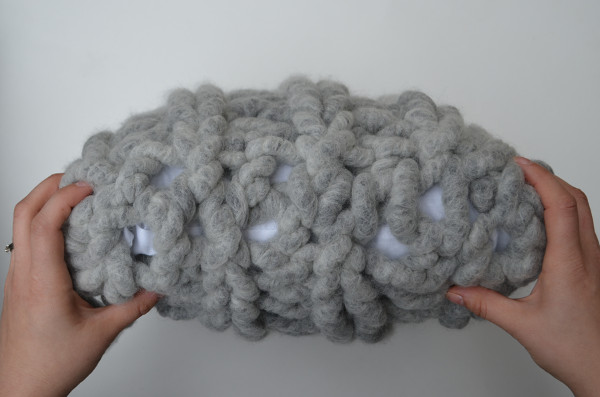
Continue working across the open edge of the pilllow, pulling the yarn through one side and then the other, alternating, always going behind the whole stitch.
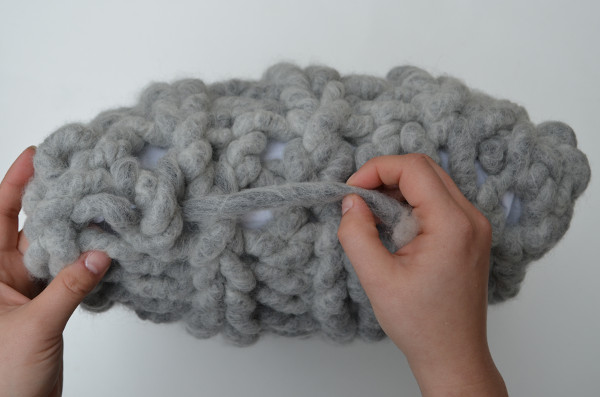
Use the remaining tail to weave in through the seam, using it to fill gaps between the stitches and the seam.