

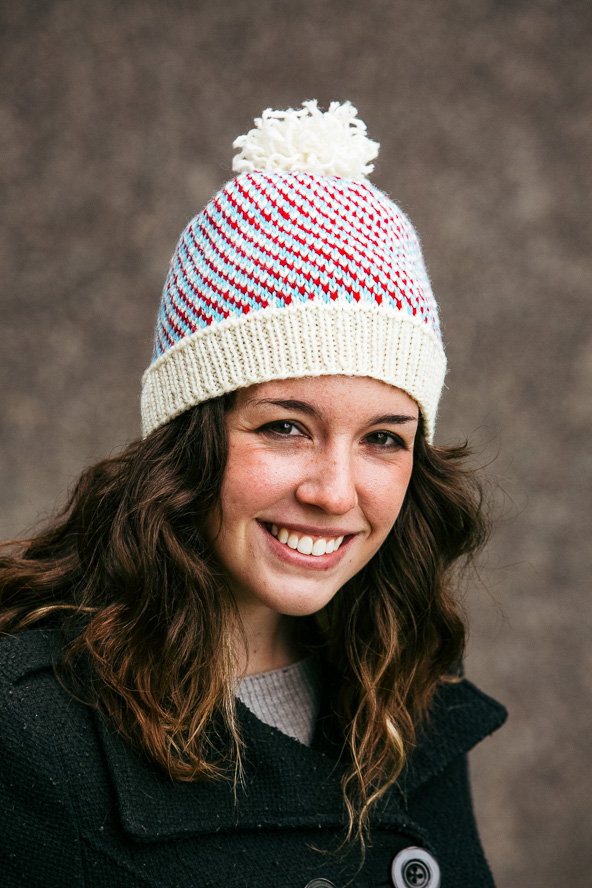
Made with classic red, white and blue stitches, this pom pom beanie is just what you need this winter.
Skill Level: Intermediate
Size: 12 (14, 16, 18, 20, 22, 24)” to fit head circumference 12 (14, 16, 18, 20, 22, 24)” with zero ease recommended; Shown in size 22”
Gauge: 25 sts and 24 rounds = 4” [10 cm] in 3-strand spiral pattern after wet blocking
Materials
Yarn: Cascade Yarns Cascade 220 (100% peruvian highland wool; 220 yards [200 meters]/100 grams): #8010 Natural (MC, 1 skein), #8895 Christmas Red (CC1, 1 skein), #8951 Aqua (CC1, 1 skein)
Needles: US size 8 (5.0 mm) circular needles (16”) and double pointed needles, US size 5 (4.0 mm) or 3 sizes smaller than that needed to obtain gauge 16” circular needles
Notions: Marker, tapestry needle
Special Stitches
Kfb: Knit into the front and the back of the next stitch.
Ssk: Slip each of the next 2 stitches knitwise (one at a time), slip them back to the left needle and knit them together through the back of the loops.
Sssk: Slip each of the next 3 stitches knitwise (one at a time), slip them back to the left needle and knit them together through the back of the loops.
Pattern Notes
This pattern is worked in the round from the bottom up.
The 3-stranded spiral pattern is most efficiently worked while holding all 3 strands at once as follows: MC in right hand, worked English (throwing) style; CCs held in left hand with CC1 to the right and CC2 to the left, worked Continental (picking) style.
Pattern
Brim
With MC and smaller needles CO 58 (70, 80, 92, 104, 116, 126) stitches, pm, join to work in the round.
Work in K1, P1 ribbing until work measures 1.5″ [4 cm] from CO edge.
P one round.
K one round while increasing 13 (10, 9, 15, 12, 18, 17) stitches evenly.
Body of Hat
Switch to larger needles, join CC’s. You will now work in St st (K all rounds) until the decrease section.
Rnd 1: *MC, CC1, CC2, repeat from * until 2 stitches remain, MC, CC1.
Rnd 2: *CC2, MC, CC1, repeat from * until 2 stitches remain, CC2, MC.
Rnd 3: *CC1, CC2, MC, repeat from * until 2 stitches remain, CC1, CC2.
Work even, repeating these 3 rounds until work measures 2.25 (3, 3.75, 4.5, 5.25, 6.25, 7.25)” [5.5 (7.5, 9.5, 11.5, 13.5, 16, 18.5) cm] from CO edge, ending after Round 3.
Decreasing
Note: Switch to DPN’s when necessary.
Rnd 1: *With MC sssk, [MC, CC1, CC2] twice, repeat from * until 8 stitches remain, with MC sssk, MC, CC1, CC2, MC, CC1. [55 (62, 69, 83, 90, 104, 111) stitches remaining]
Rnd 2: *With CC2 ssk, MC, CC1, CC2, MC, CC1, repeat from * until 6 stitches remain, with CC2 ssk, MC, CC1, CC2, MC. [47 (53, 59, 71, 77, 89, 95) stitches remaining]
Rnd 3: *CC1, CC2, MC, repeat from * until 2 stitches remain, CC1, CC2.
Rnd 4: *With MC sssk, MC, CC1, CC2, repeat from * until 5 stitches remain, with MC sssk, MC, CC1. [31 (35, 39, 47, 51, 59, 63) stitches remaining]
Rnd 5: *With CC2 ssk, MC, CC1, repeat from * until 3 stitches remain, with CC2 ssk, MC. [23 (26, 29, 35, 38, 44, 47) stitches remaining]
Rnd 6: *CC1, CC2, MC, repeat from * until 2 stitches remaining, CC1, CC2.
Cut both CC’s, remaining work is done with MC only.
Rnd 7: Sssk around until 2 stitches remain, ssk. [8 (9, 10, 12, 13, 15, 16) stitches remaining]
Rnd 8: Ssk around (if you have an odd number of stitches just K the last stitch). [4 (5, 5, 6, 7, 8, 8) stitches remaining]
Cut yarn, with tapestry needle run the end through all the stitches, slipping them off the needle and pulling snug to close the hole.
Finishing
Weave in ends.
Block to even out stitches.
PomPom
The sample pompom was made with yarn that had previously been knit and blocked and then ripped out, which resulted in a crinkly, messy pompom. If you want to replicate the look you could knit up a swatch with about 45 yds [40 m] of MC, block and dry it, then rip it out.
Note: if this gets washed then the curl will go for good. If you want to wash your hat and keep the curl, remove the pompom and re-attach it again afterwards.
Find something that is the approximate width you would like the pompom to be.
Wrap the yarn around the fork/hand about 50 times. The more wraps you have, the denser the pompom will be.
Take a piece of matching yarn and tie it around the middle of the wraps very tightly, cinching it in at the middle.
Now cut the loops at either end of the wraps and puff it up. Sometimes the pompom needs a little trimming to make it a nice sphere, or if you’re going for the messy, curly pompom like in the sample, let it be.
Attach the pompom, wear and enjoy!