

The wedges which form the pumpkin shape are created with short rows. With this technique, you stop and turn the work before reaching the end of a row, so there are more rows in the middle of the piece than at the sides. To prevent holes from forming when the work is turned, you’ll use
The wedges which form the pumpkin shape are created with short rows. With this technique, you stop and turn the work before reaching the end of a row, so there are more rows in the middle of the piece than at the sides. To prevent holes from forming when the work is turned, you’ll use a maneuver called wrap and turn (w&t).
Knit or purl the specified number of stitches. You will not be at the end of the row. Move the yarn to the Wrong Side of the work.
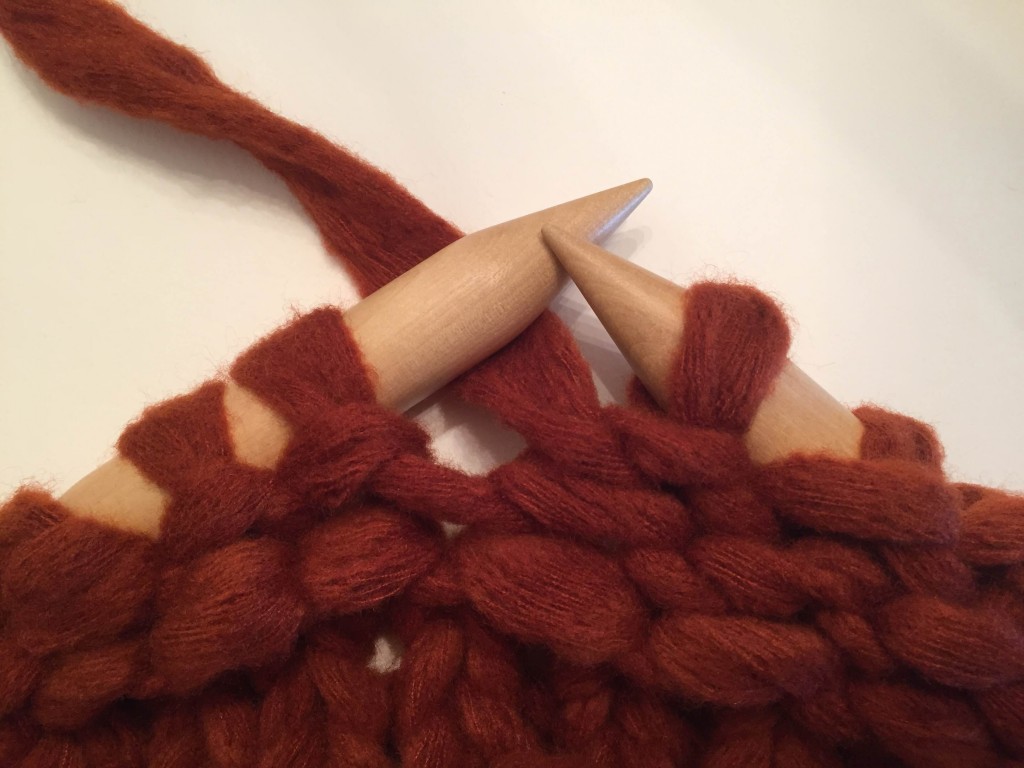
Slip next stitch to the right hand needle.

Move the yarn between the needle tips to the Right Side of the work.
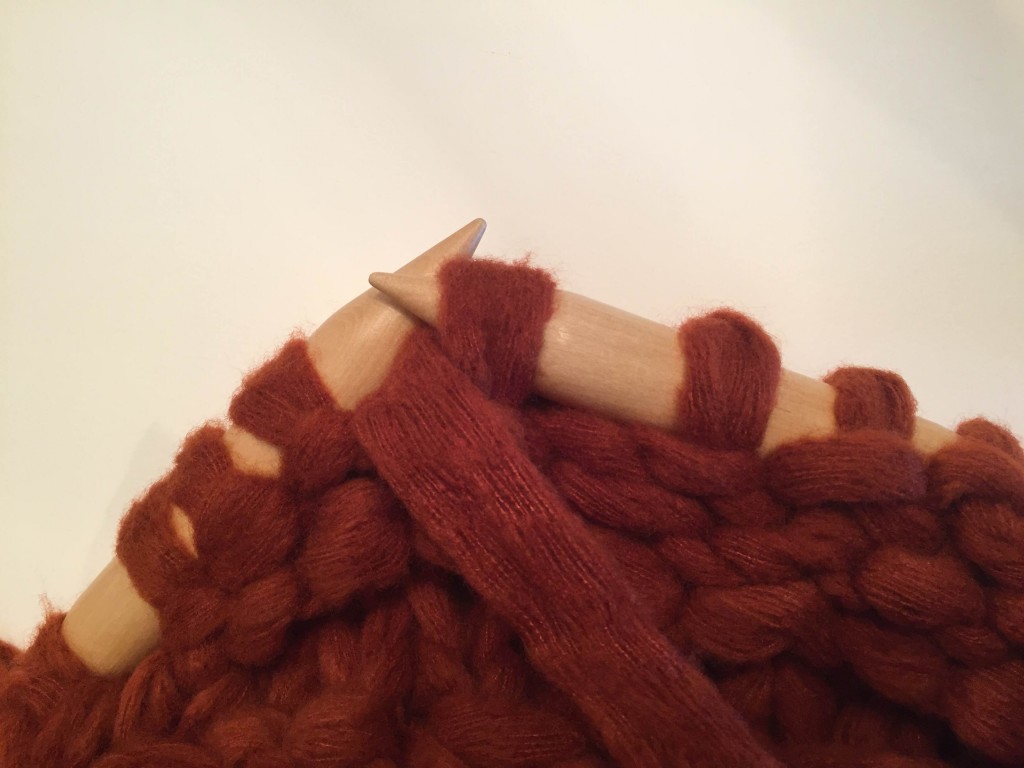
Slip the stitch back to the left hand needle.
Turn work, and continue with the next row.

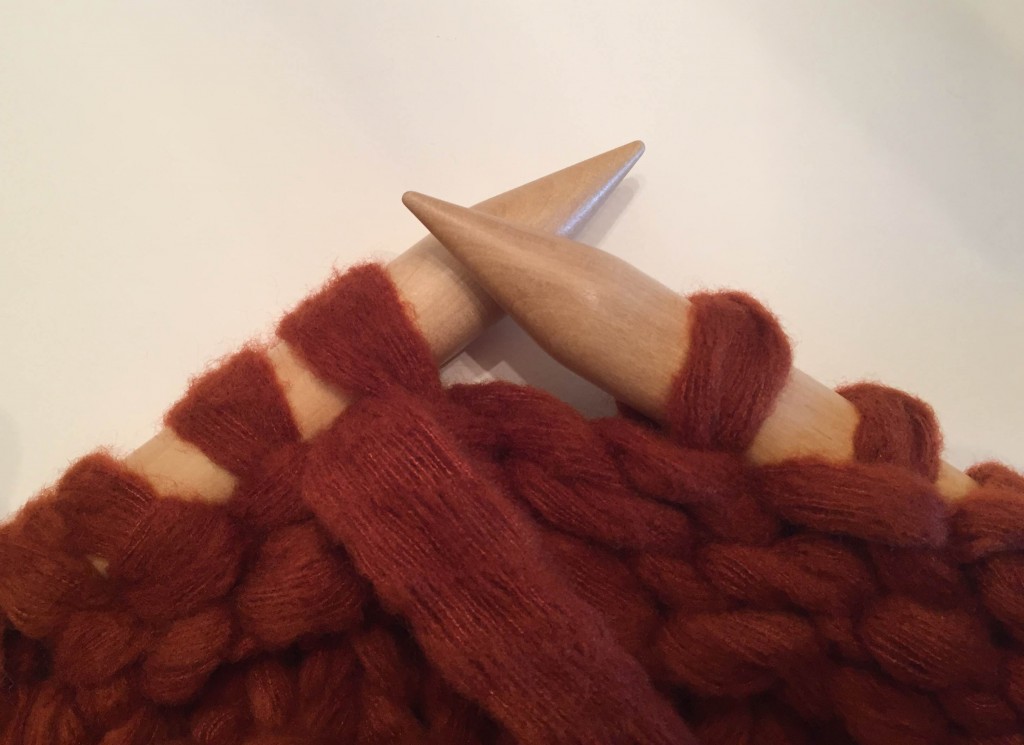
You have wrapped the working yarn around an unworked stitch. When you encounter this wrapped stitch on a subsequent row, just knit or purl it normally. There is no need to do anything to disguise the wrap; it blends in with the texture of the Reverse Stockinette stitch.
I have started an number of project recently only to rip them out because I do not understand how to do the W&T. I have also spent numerous hours searching for patterns that do not have this stitch in the pattern.
Visual as well as written instructions is perfect.
I agree with above comment. Now we need to see picking up wrap using as a stitch on larger needles. Thank you.
What a difference seeing this with large needles and yarn. I want to give this a try using wrap and turn on a sock heel. I hope you have a sock pattern that uses this technique?