

If you’ve been knitting for more than a few days, you’ve probably seen the abbreviations “M1L” and “M1R” pop up in the patterns you’ve been perusing. As you may know already, these techniques are two of countless types of increases you can use in your knitting. For each instance, you create a new stitch in
If you’ve been knitting for more than a few days, you’ve probably seen the abbreviations “M1L” and “M1R” pop up in the patterns you’ve been perusing. As you may know already, these techniques are two of countless types of increases you can use in your knitting. For each instance, you create a new stitch in your work that leans either left or right. Yes, just as the name states—you make one. Knitting these increases is simple enough for even beginners to master easily.
How to M1R
“M1R,” as you can reasonably assume, stands for “make 1 right,” and leans rightward. Often, M1L is paired opposite of a M1R increase somewhere else in the pattern for a symmetrical appearance, but sometimes you’ll see it riding solo. Both M1R and M1L create small holes in your knitting, which is something to bear in mind when envisioning the completed project.
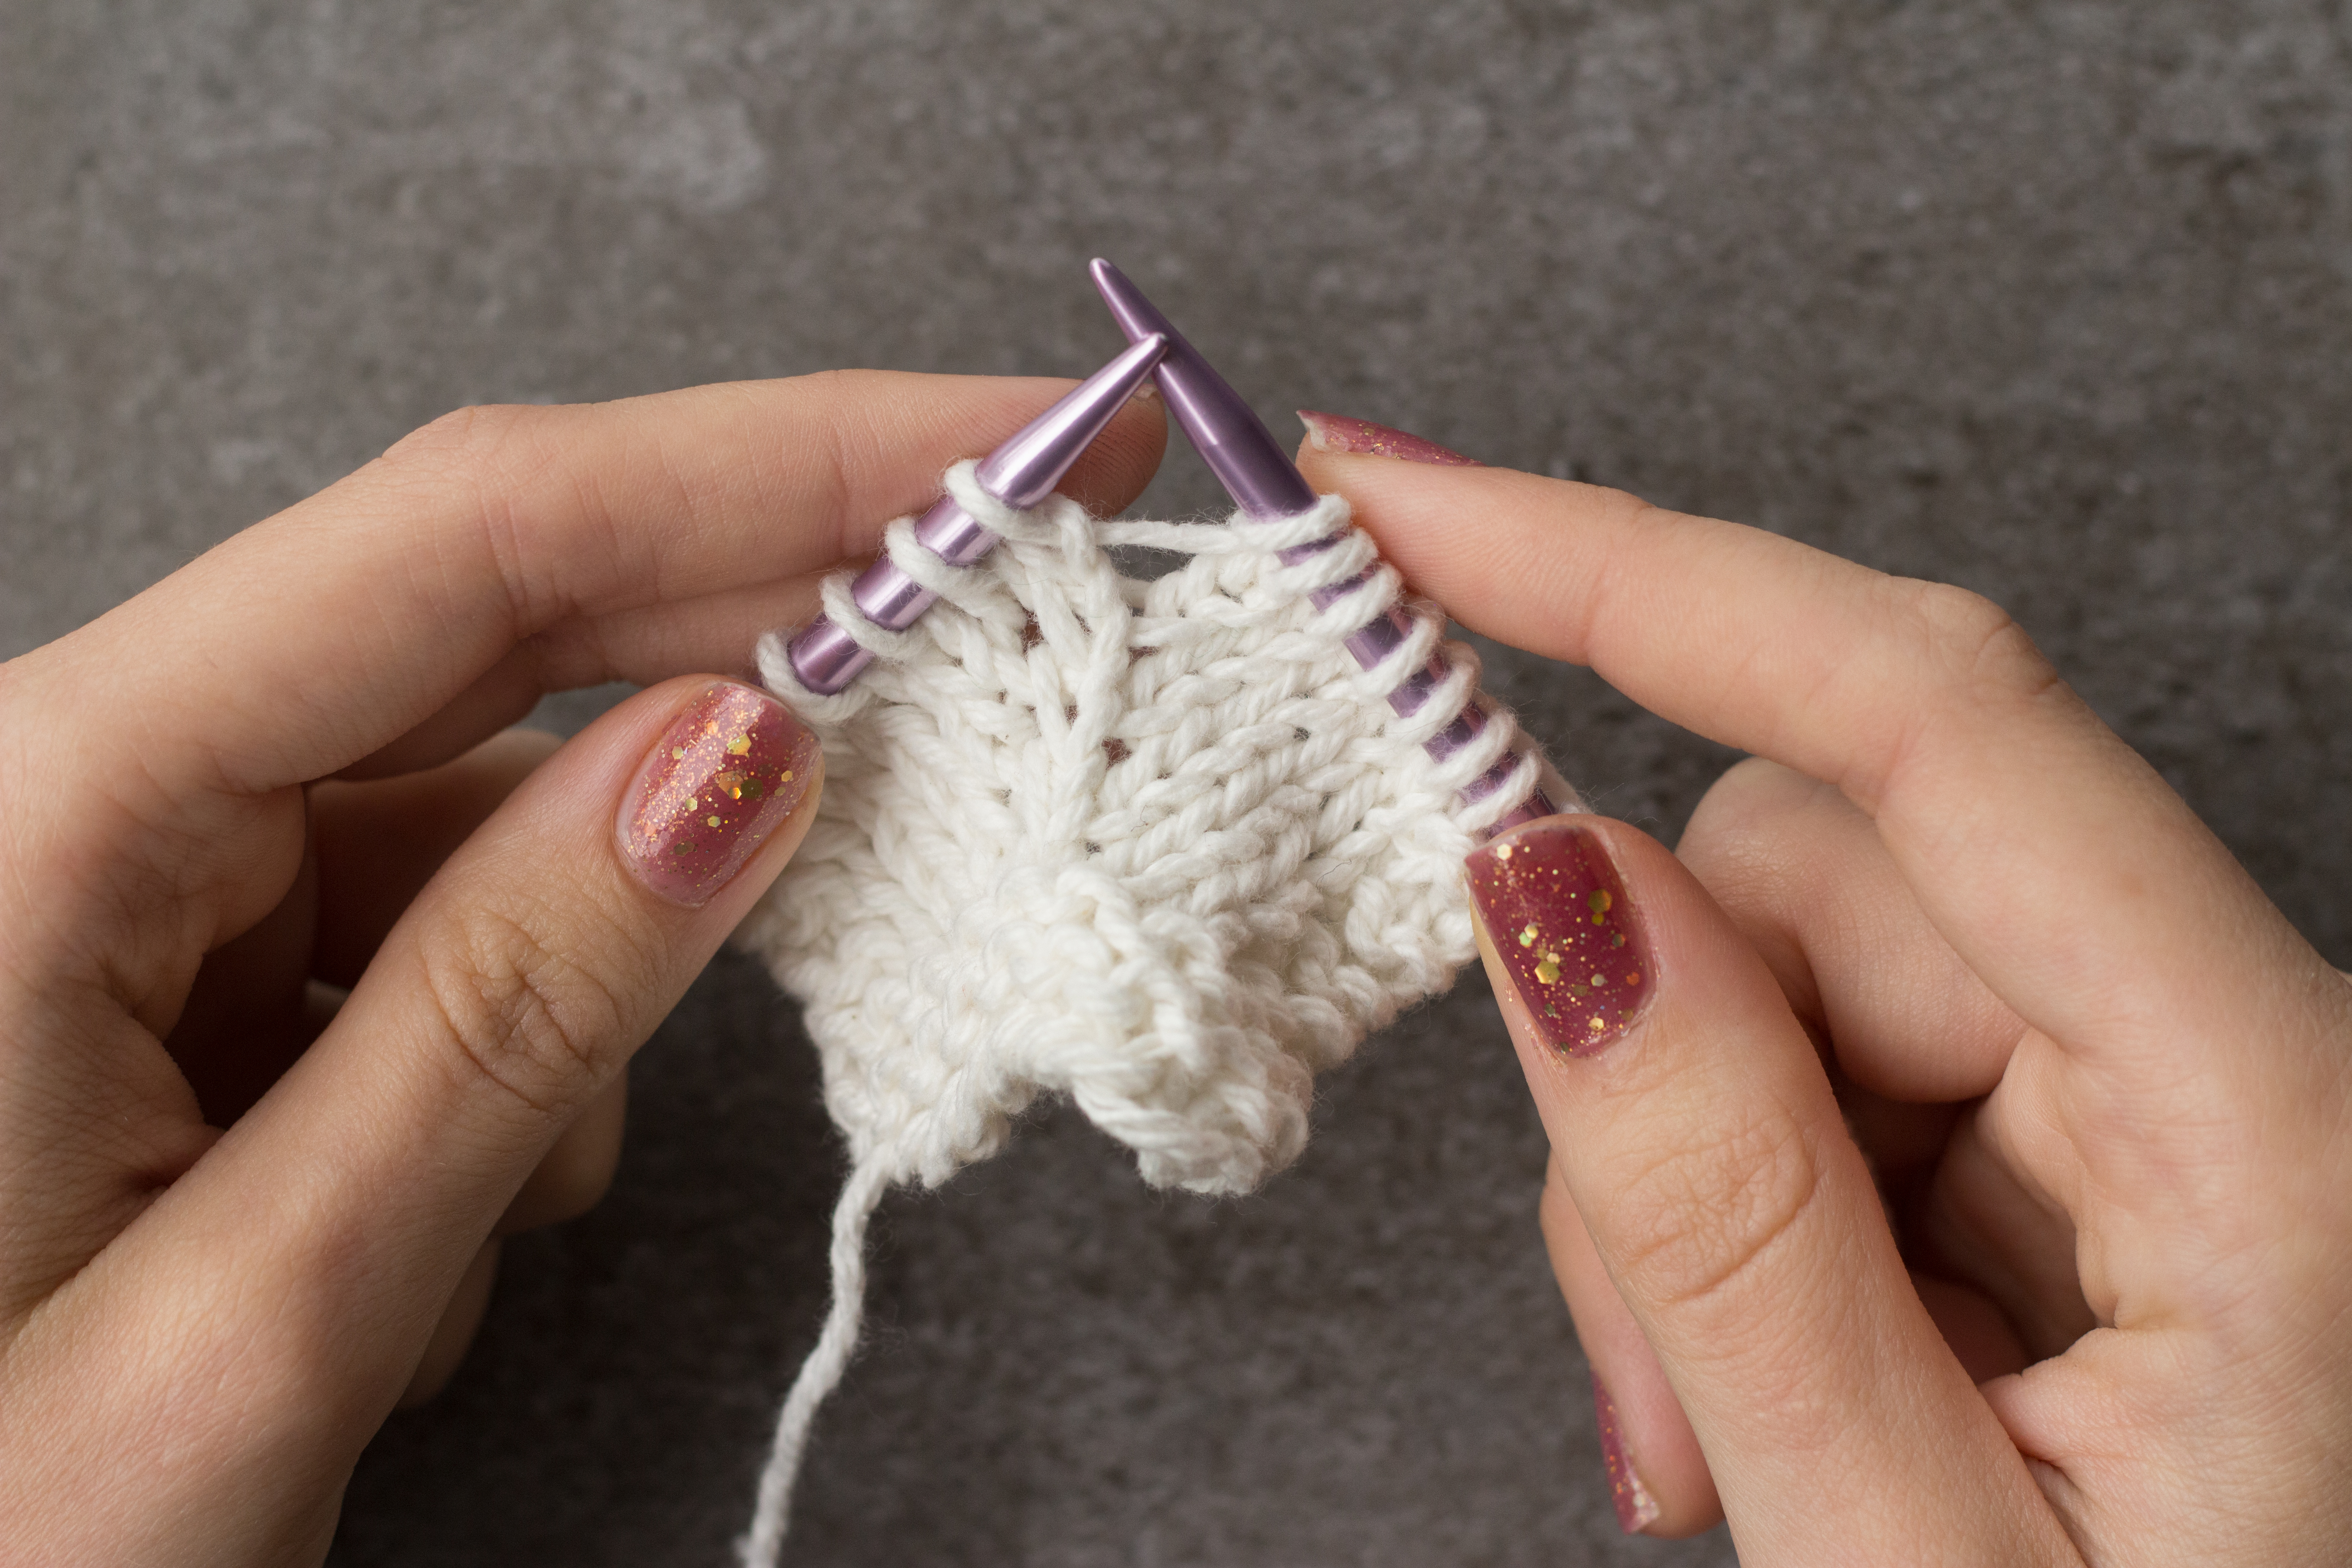
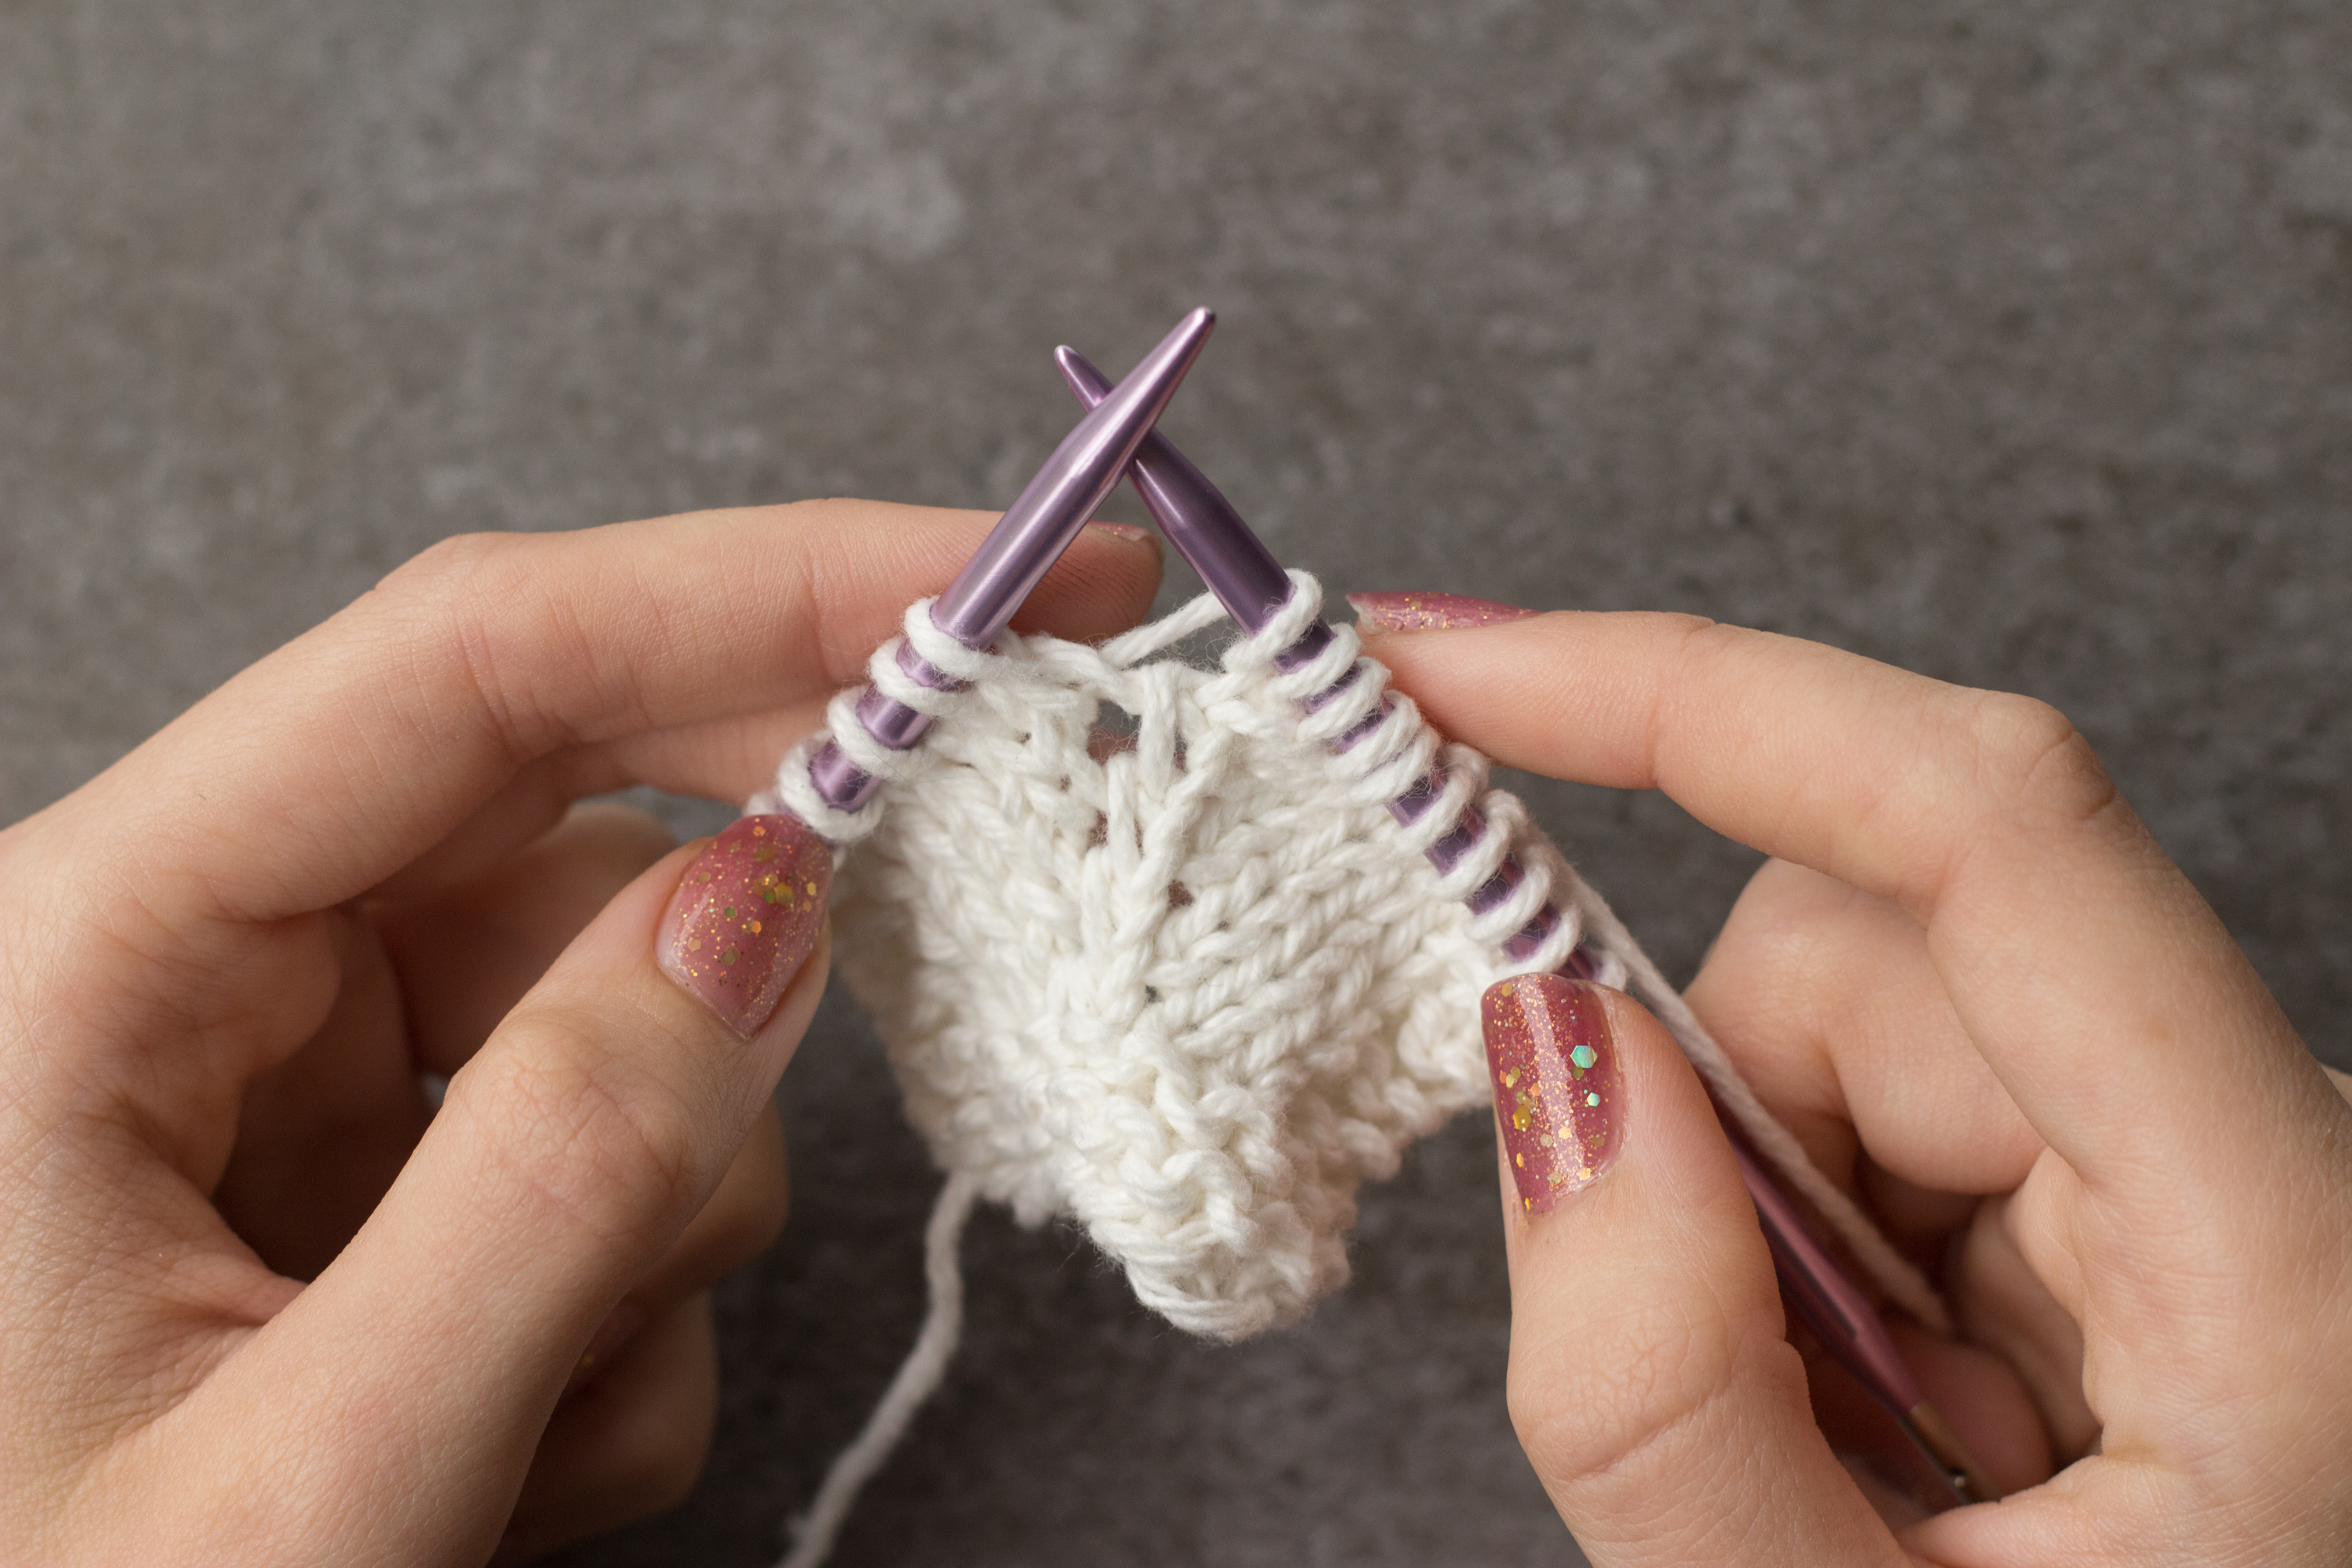
When you reach “M1R” in your pattern, hold your needles far enough apart to clearly see the ladder. The “ladder” is the horizontal bar of yarn in between your two stitches.
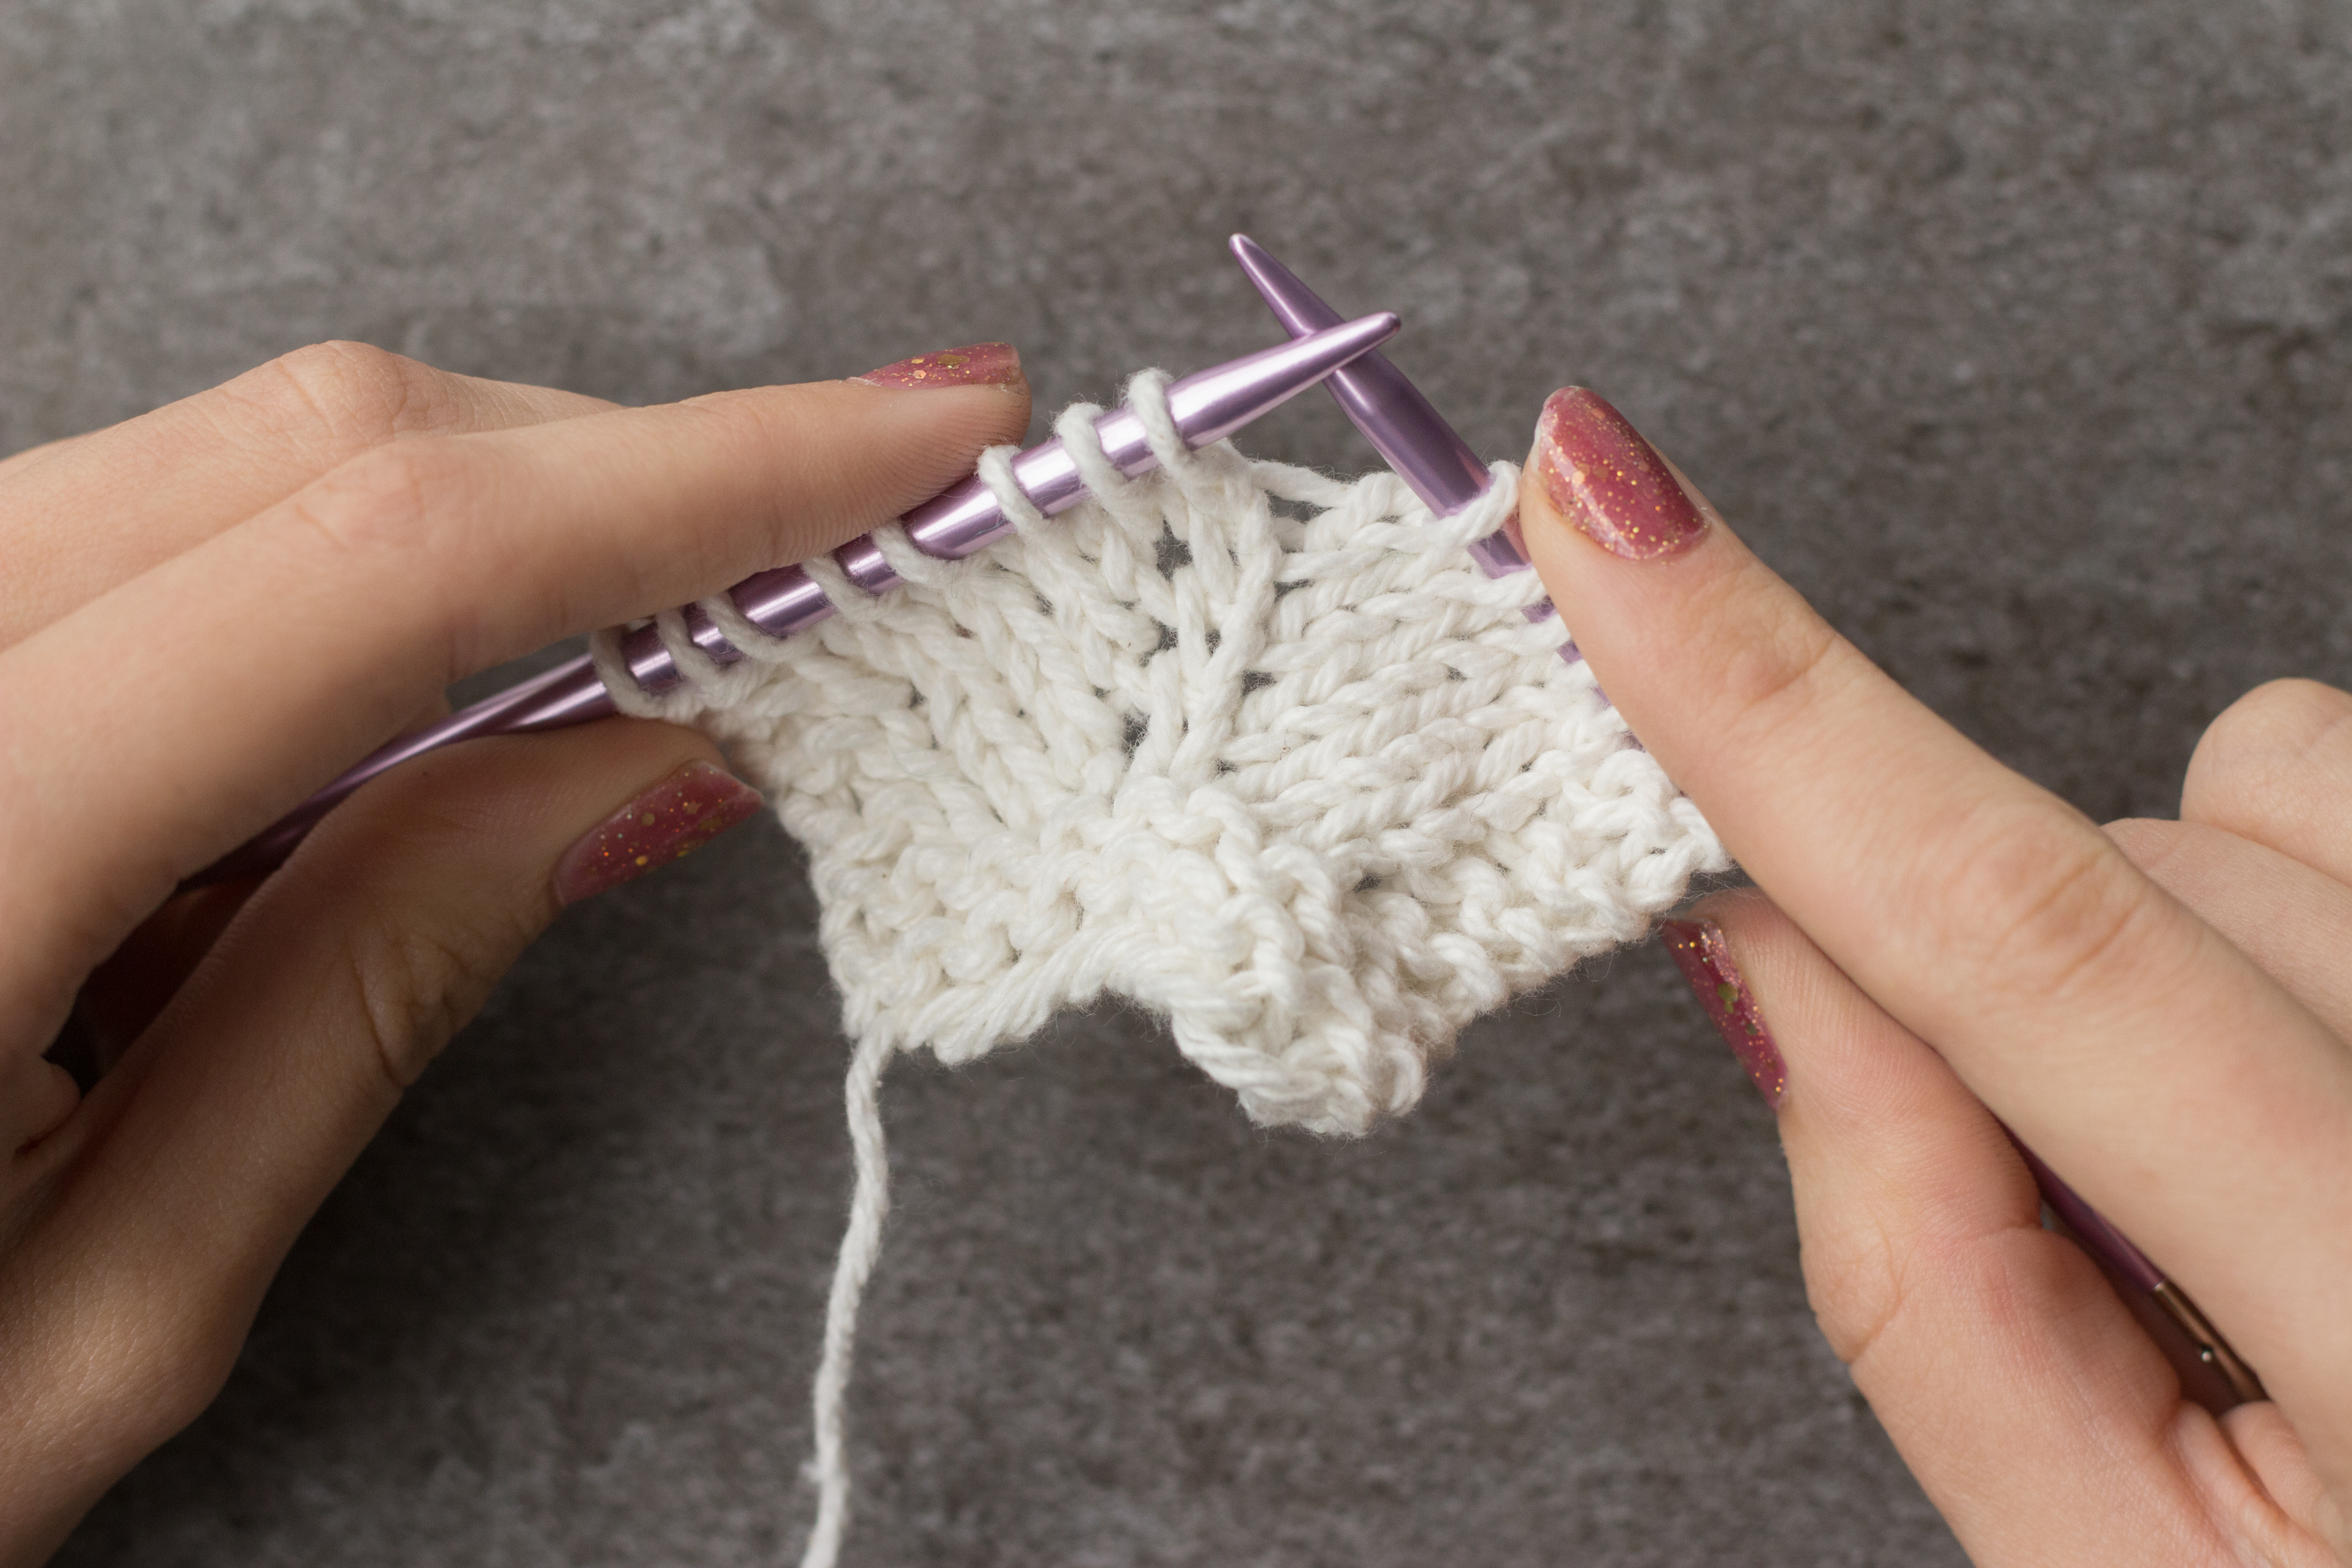
Insert your lefthand needle from back to front beneath the ladder. This creates a new loop on your lefthand needle. If it’s easier for your to maneuver, you may choose to insert your righthand needle from back to front, and slide the new loop on your lefthand needle.
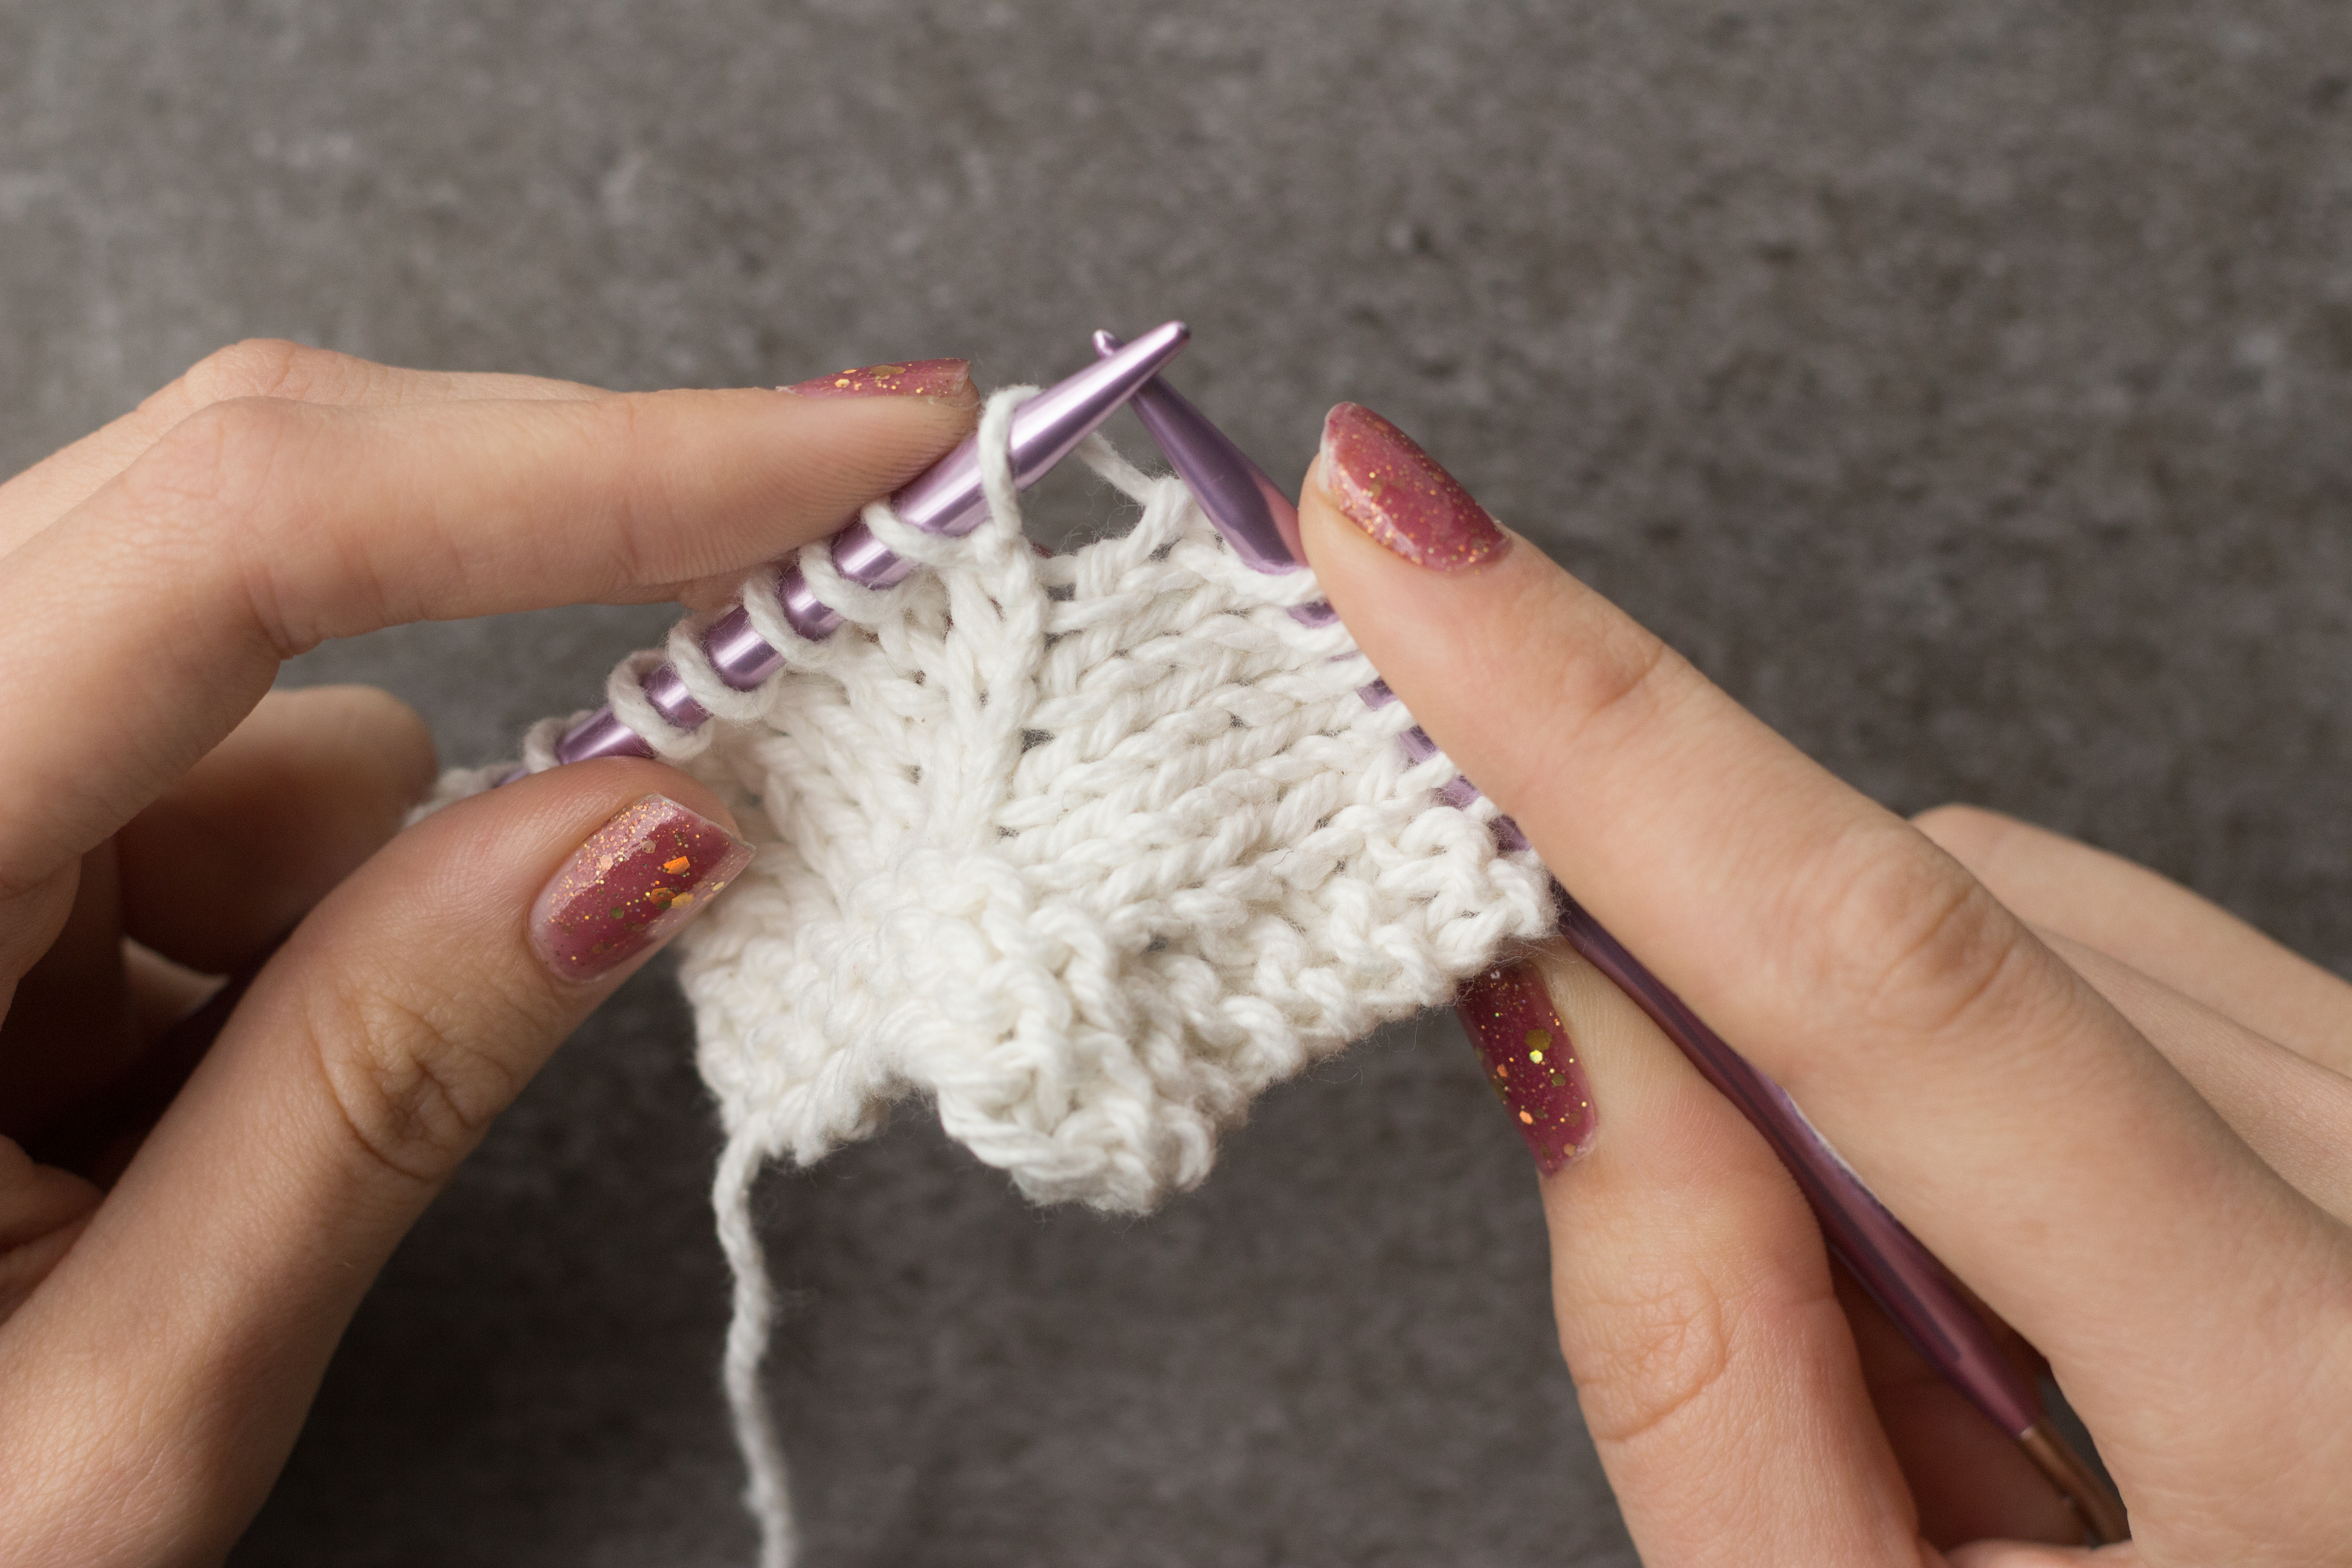
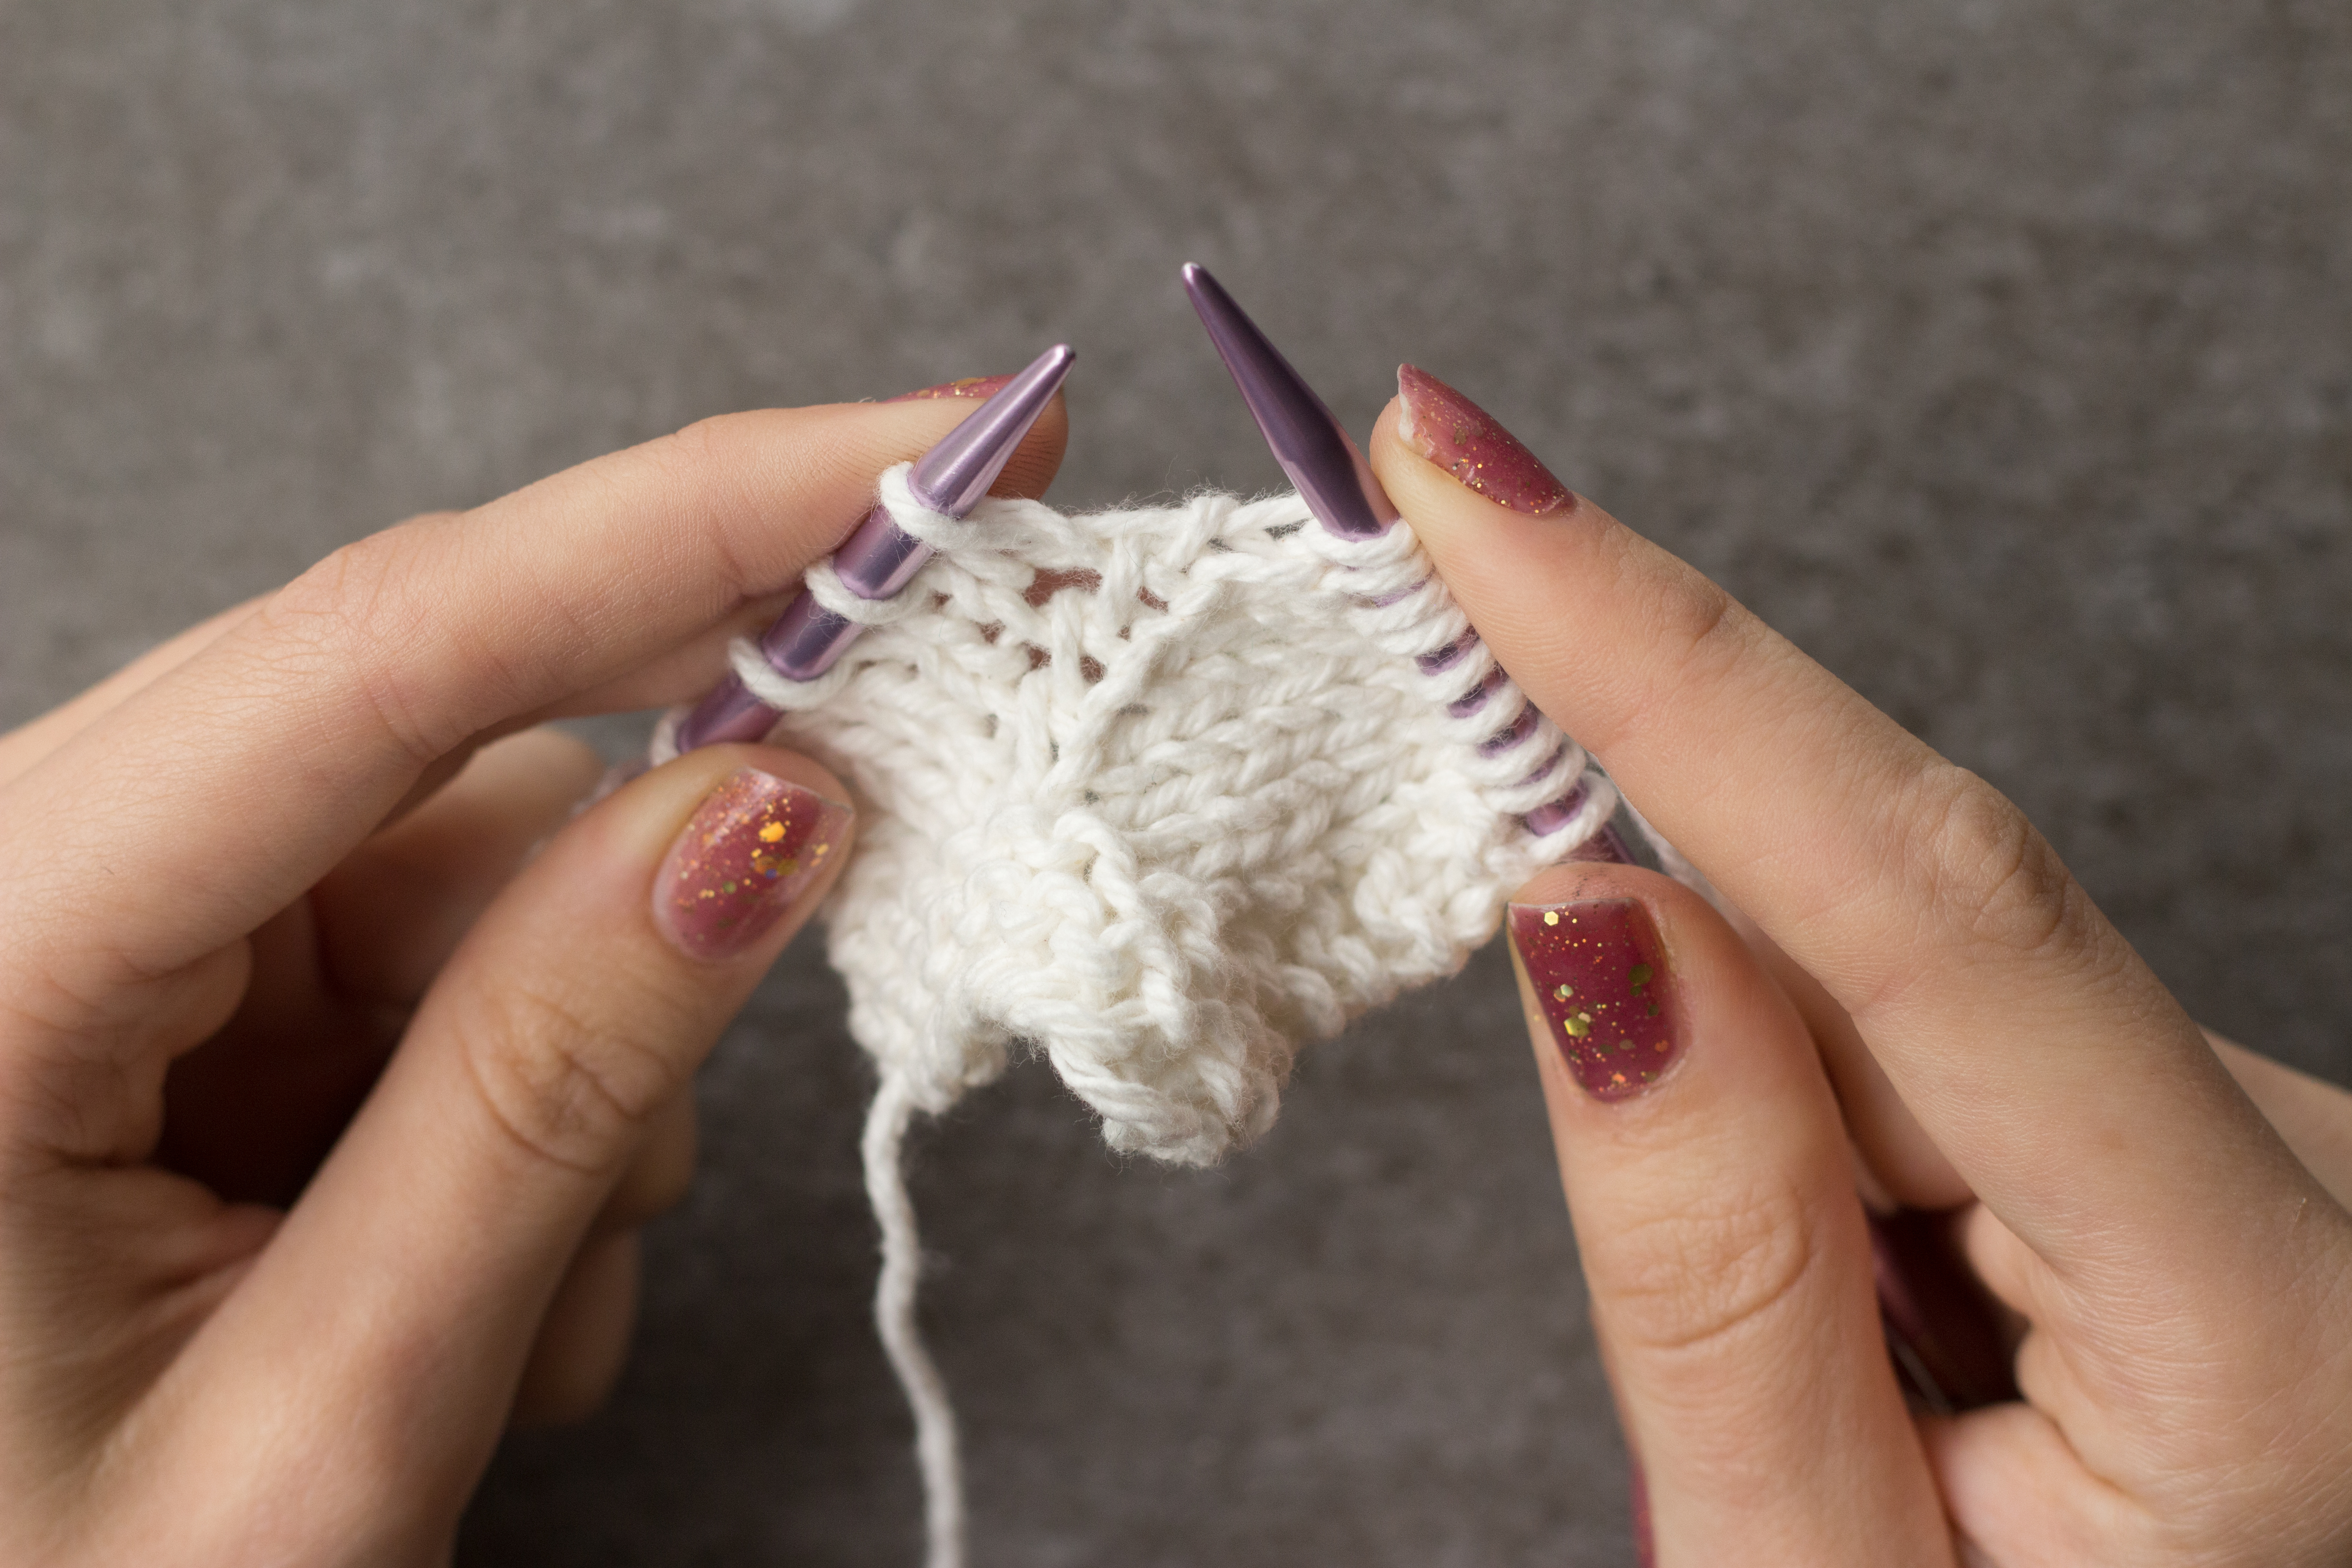
Insert your righthand needle into the newly-created loop knitwise.
Knit the new stitch. Notice the rightward-leaning nature of the new stitch.
How to M1L
“M1L” stands for “make 1 left,” and that’s because the new stitch that you create will lean leftwards in your knitting. Just like M1L, you’ll usually see this stitch paired with a left-leaning increase for symmetry, but it’s not unusual for this increase to be found on its own in a pattern. M1L is nearly identical to M1R in its technique, with one key difference.
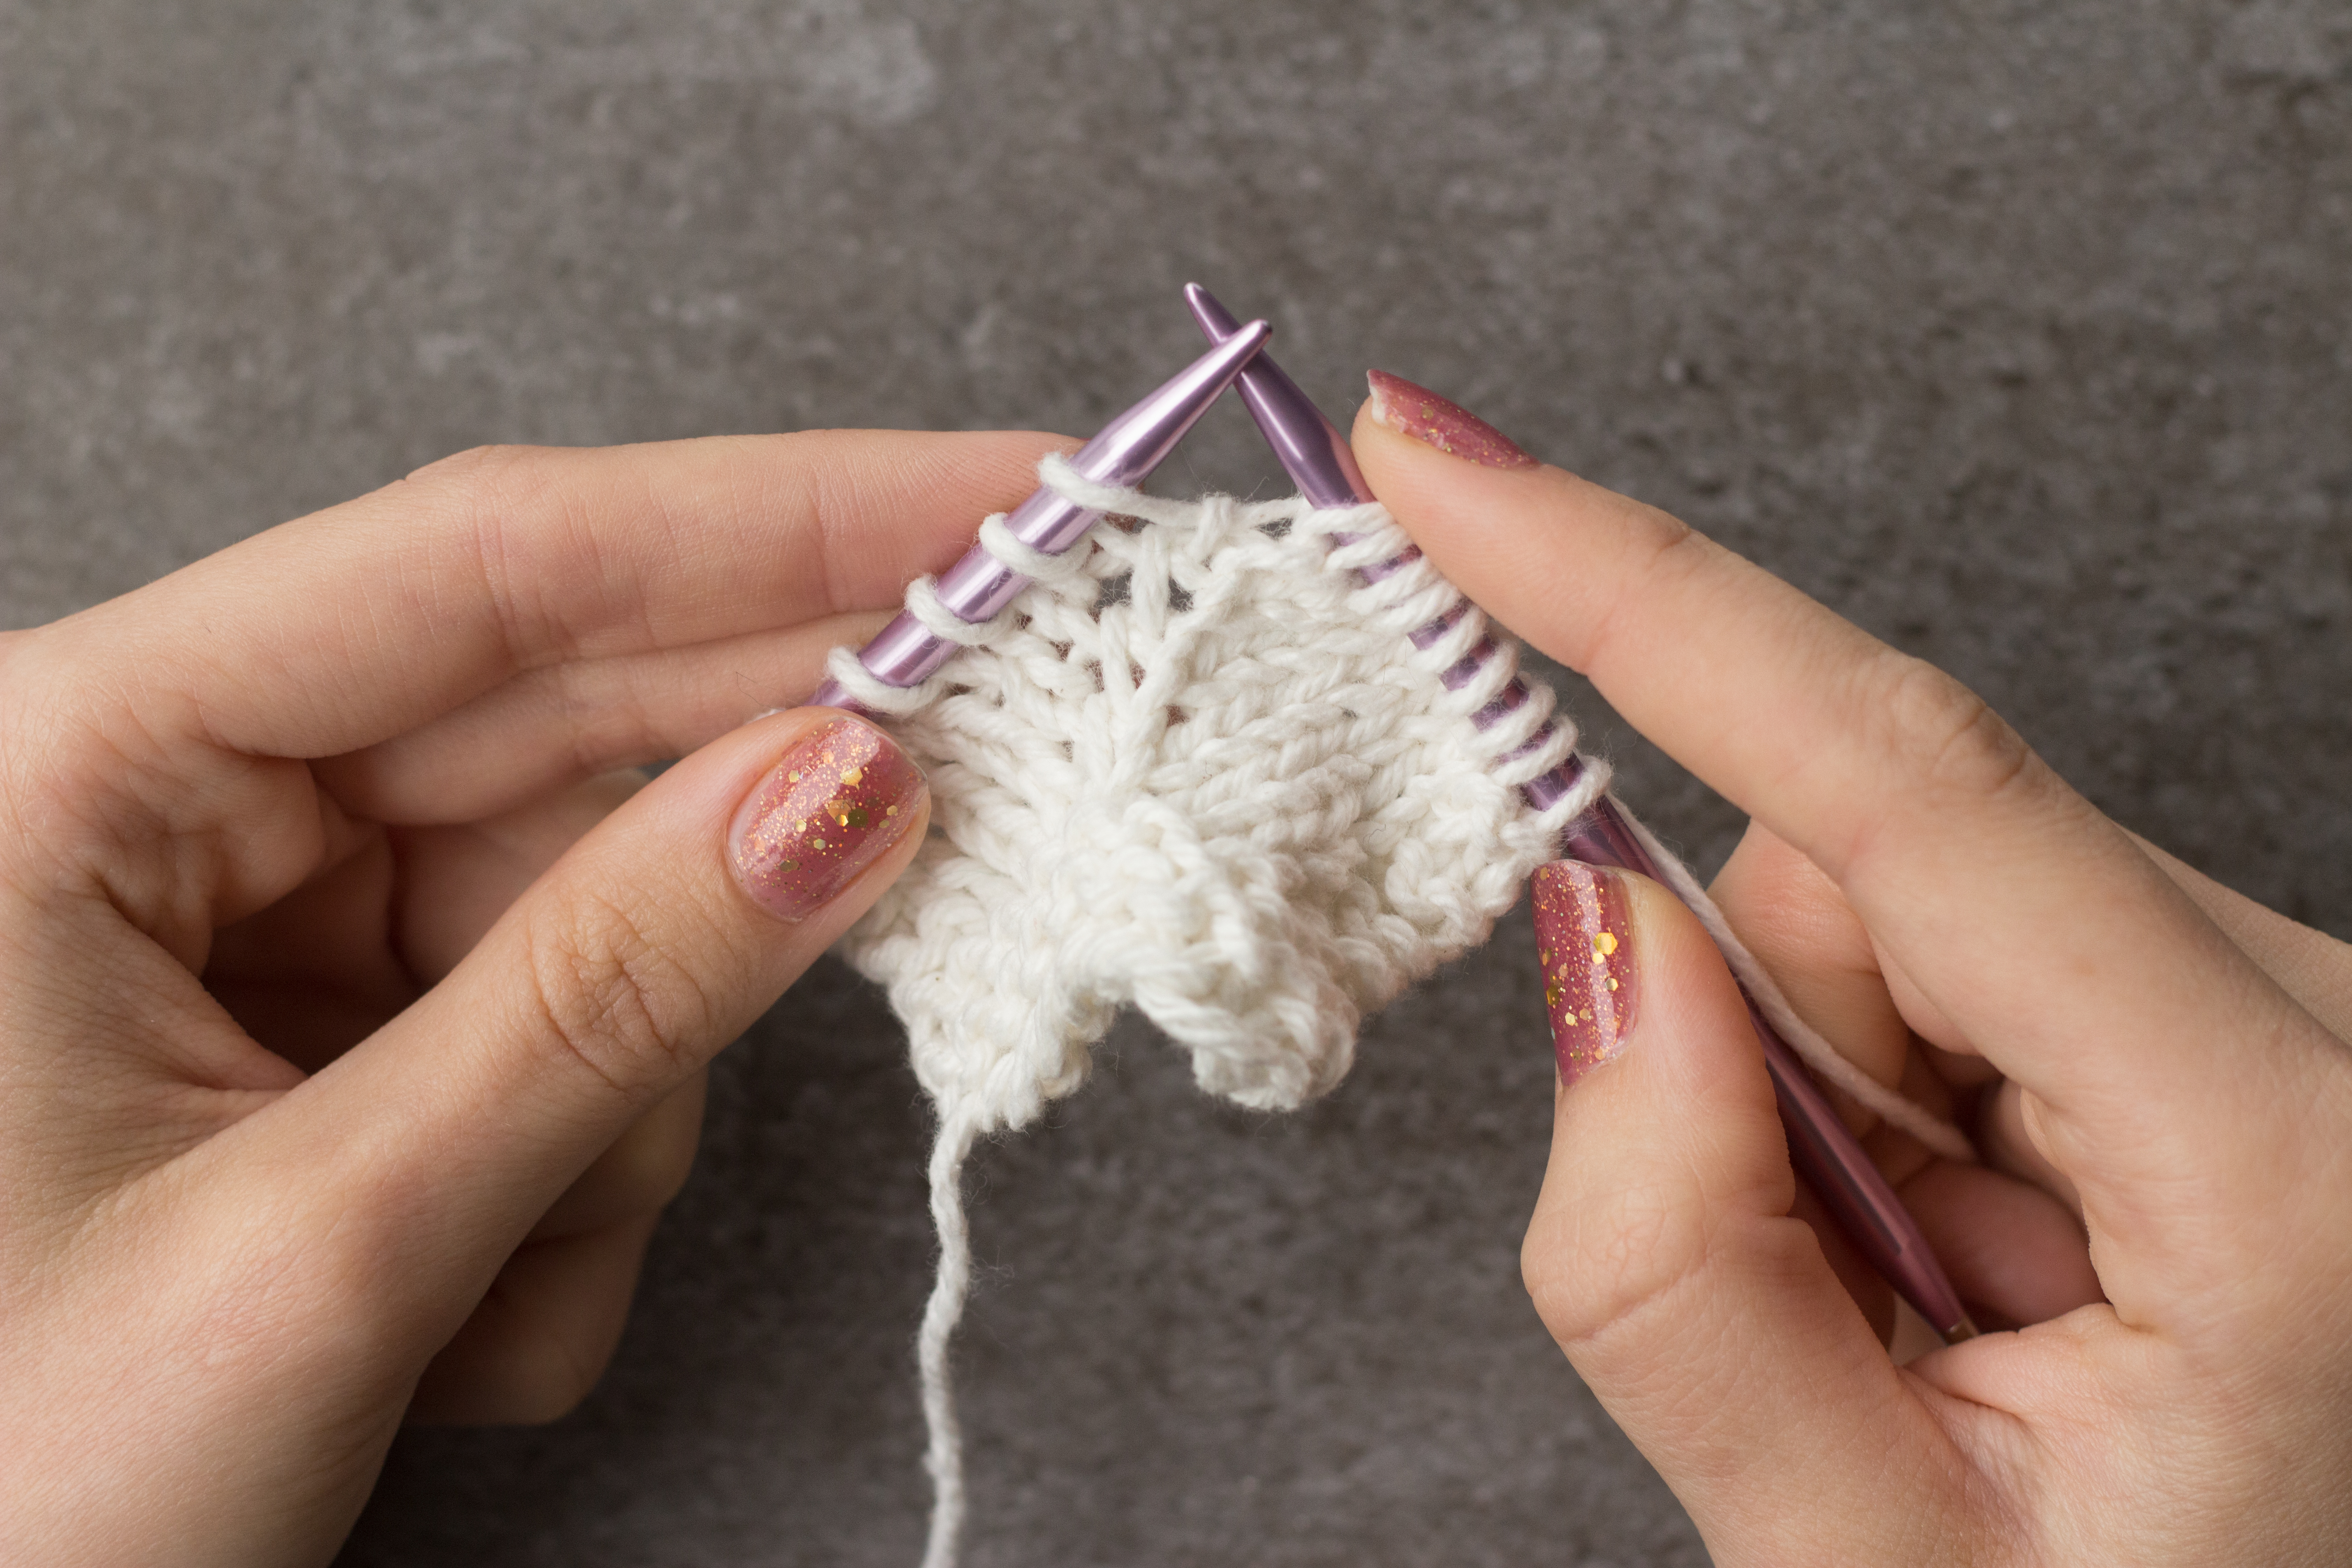
When you reach “M1L” in your pattern, hold the two needles far enough apart from each other that you can see the ladder between the stitches, just like with M1R.
Next, insert your lefthand needle from front to back beneath the ladder. This, again, will create a new loop on your lefthand needle. Just like with M1R, you may choose instead to insert your righthand needle from front to back beneath the ladder and slide the new loop onto your lefthand needle if it’s easier for you to manage.
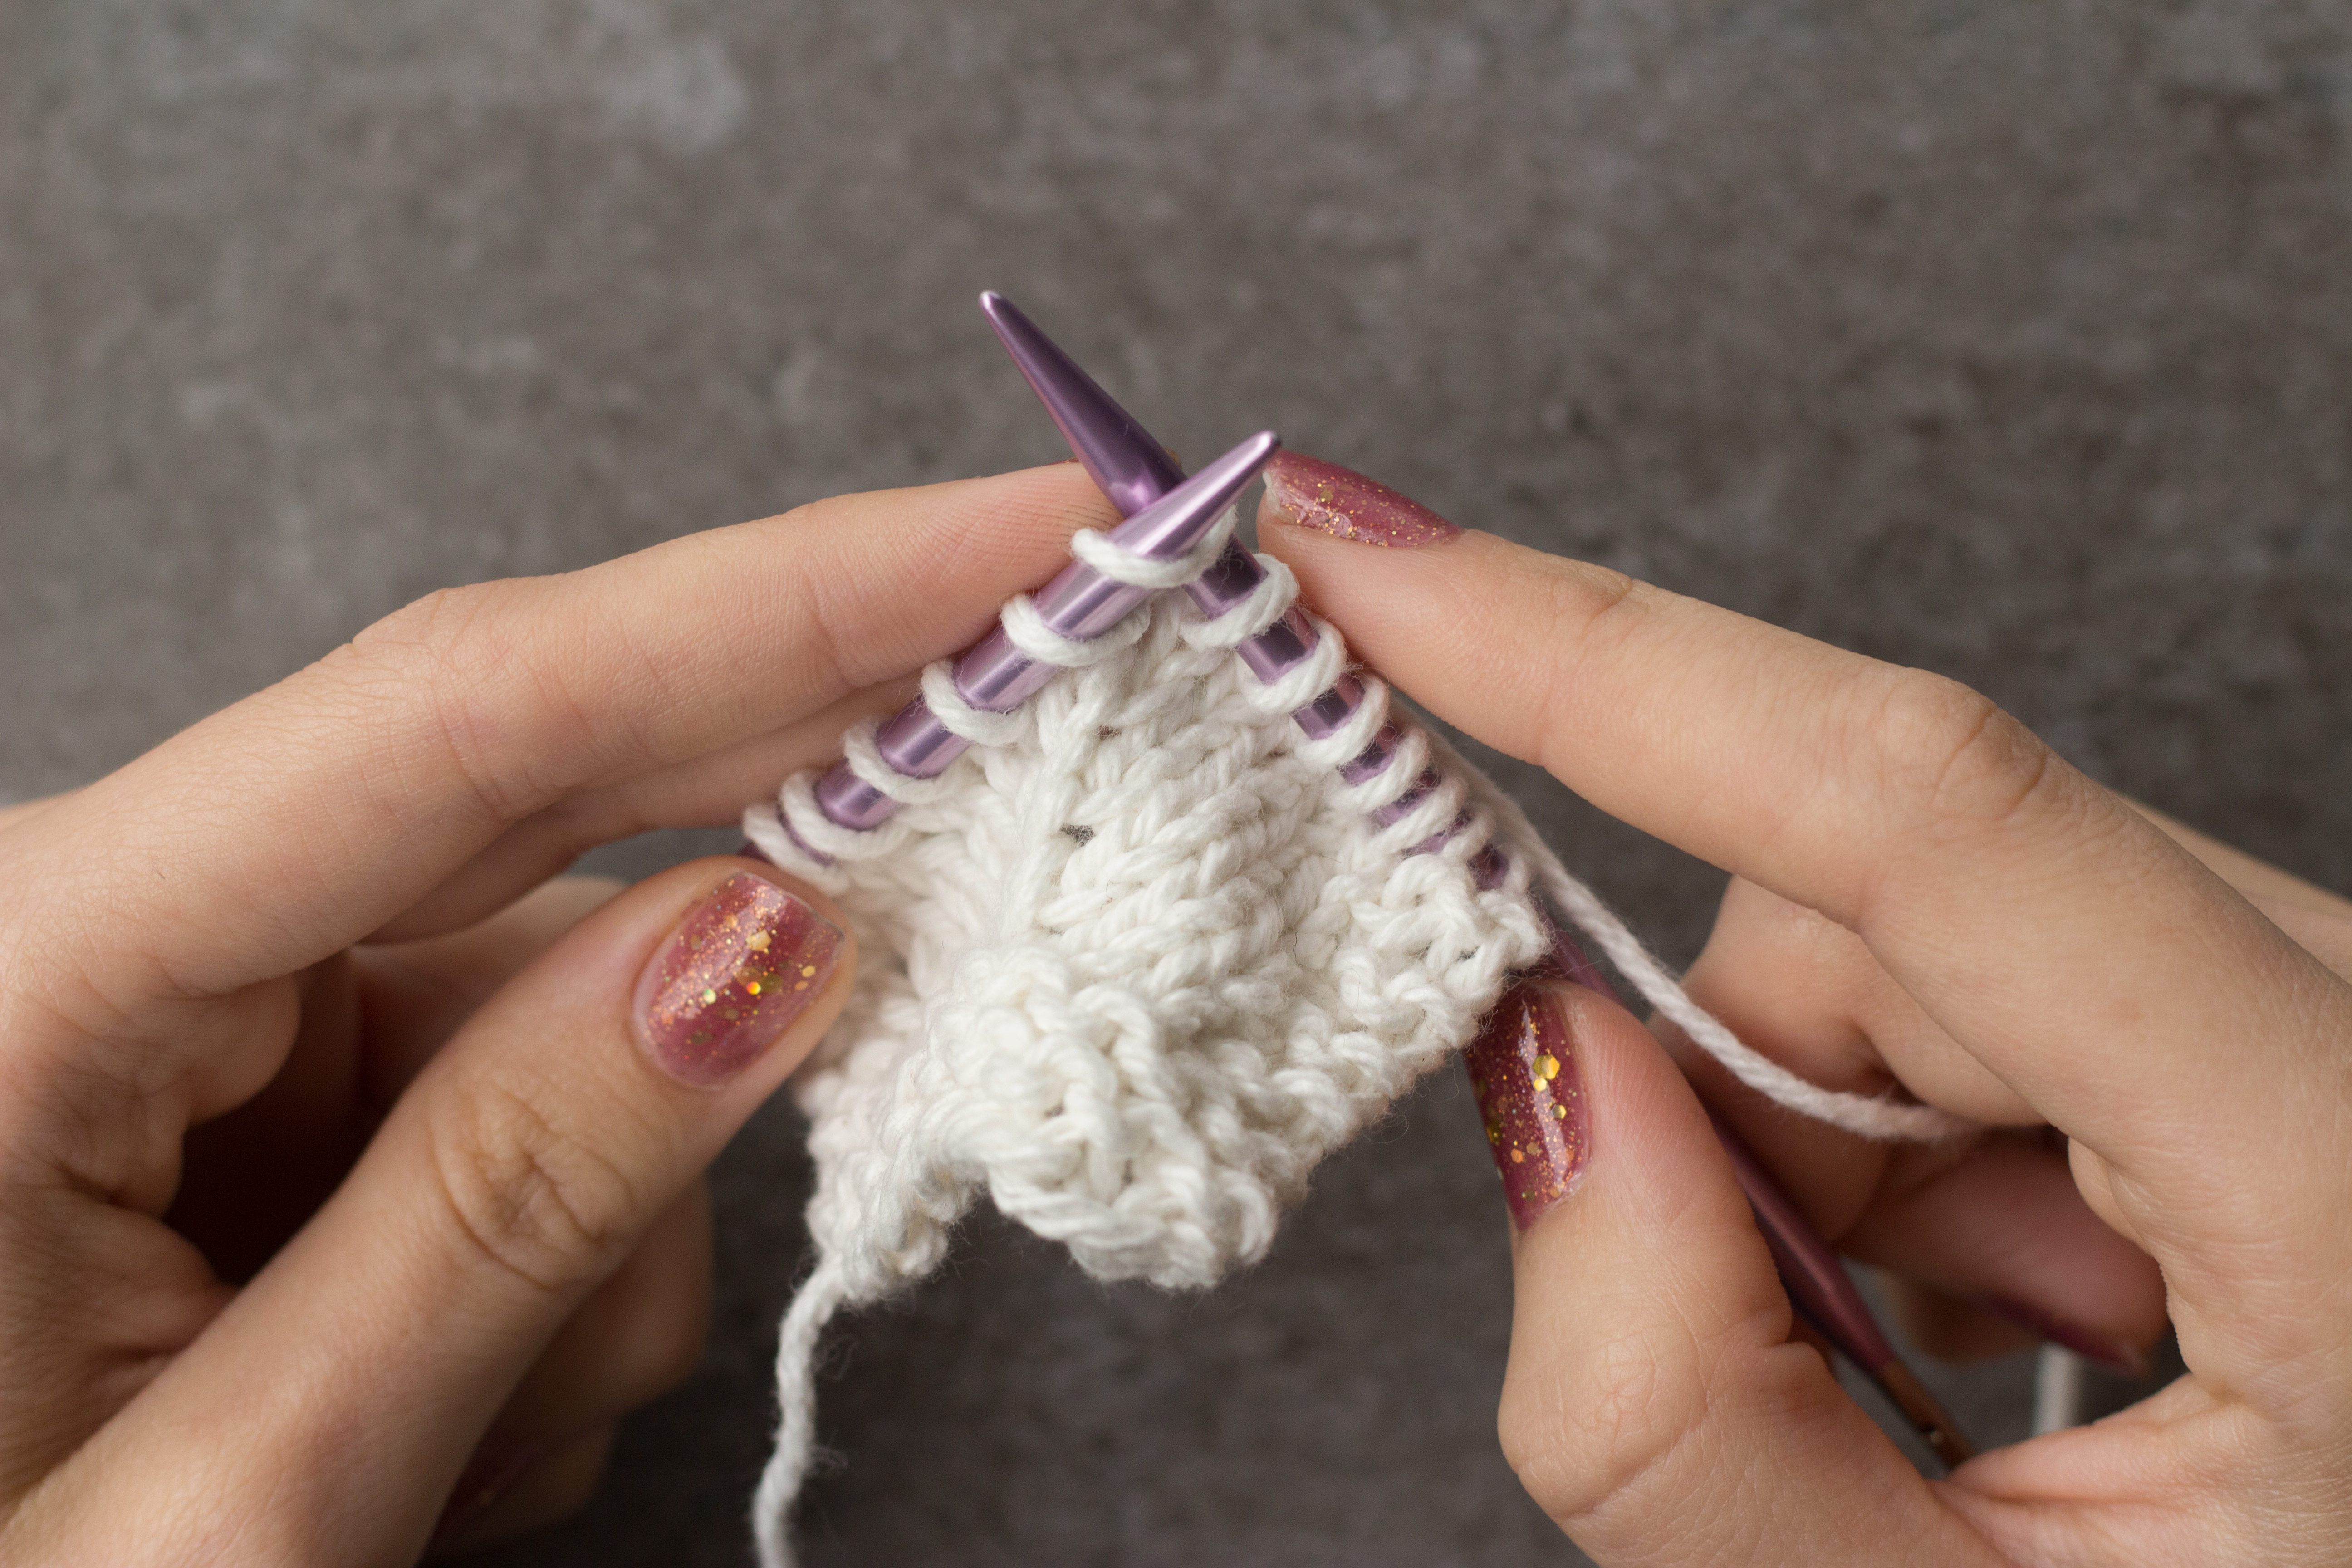
Insert your righthand needle into the newly-created loop knitwise. This is notoriously easier with M1L than with M1R, since the majority of the loop is facing you, whereas with M1R, the majority of the loop faced the back of your work.
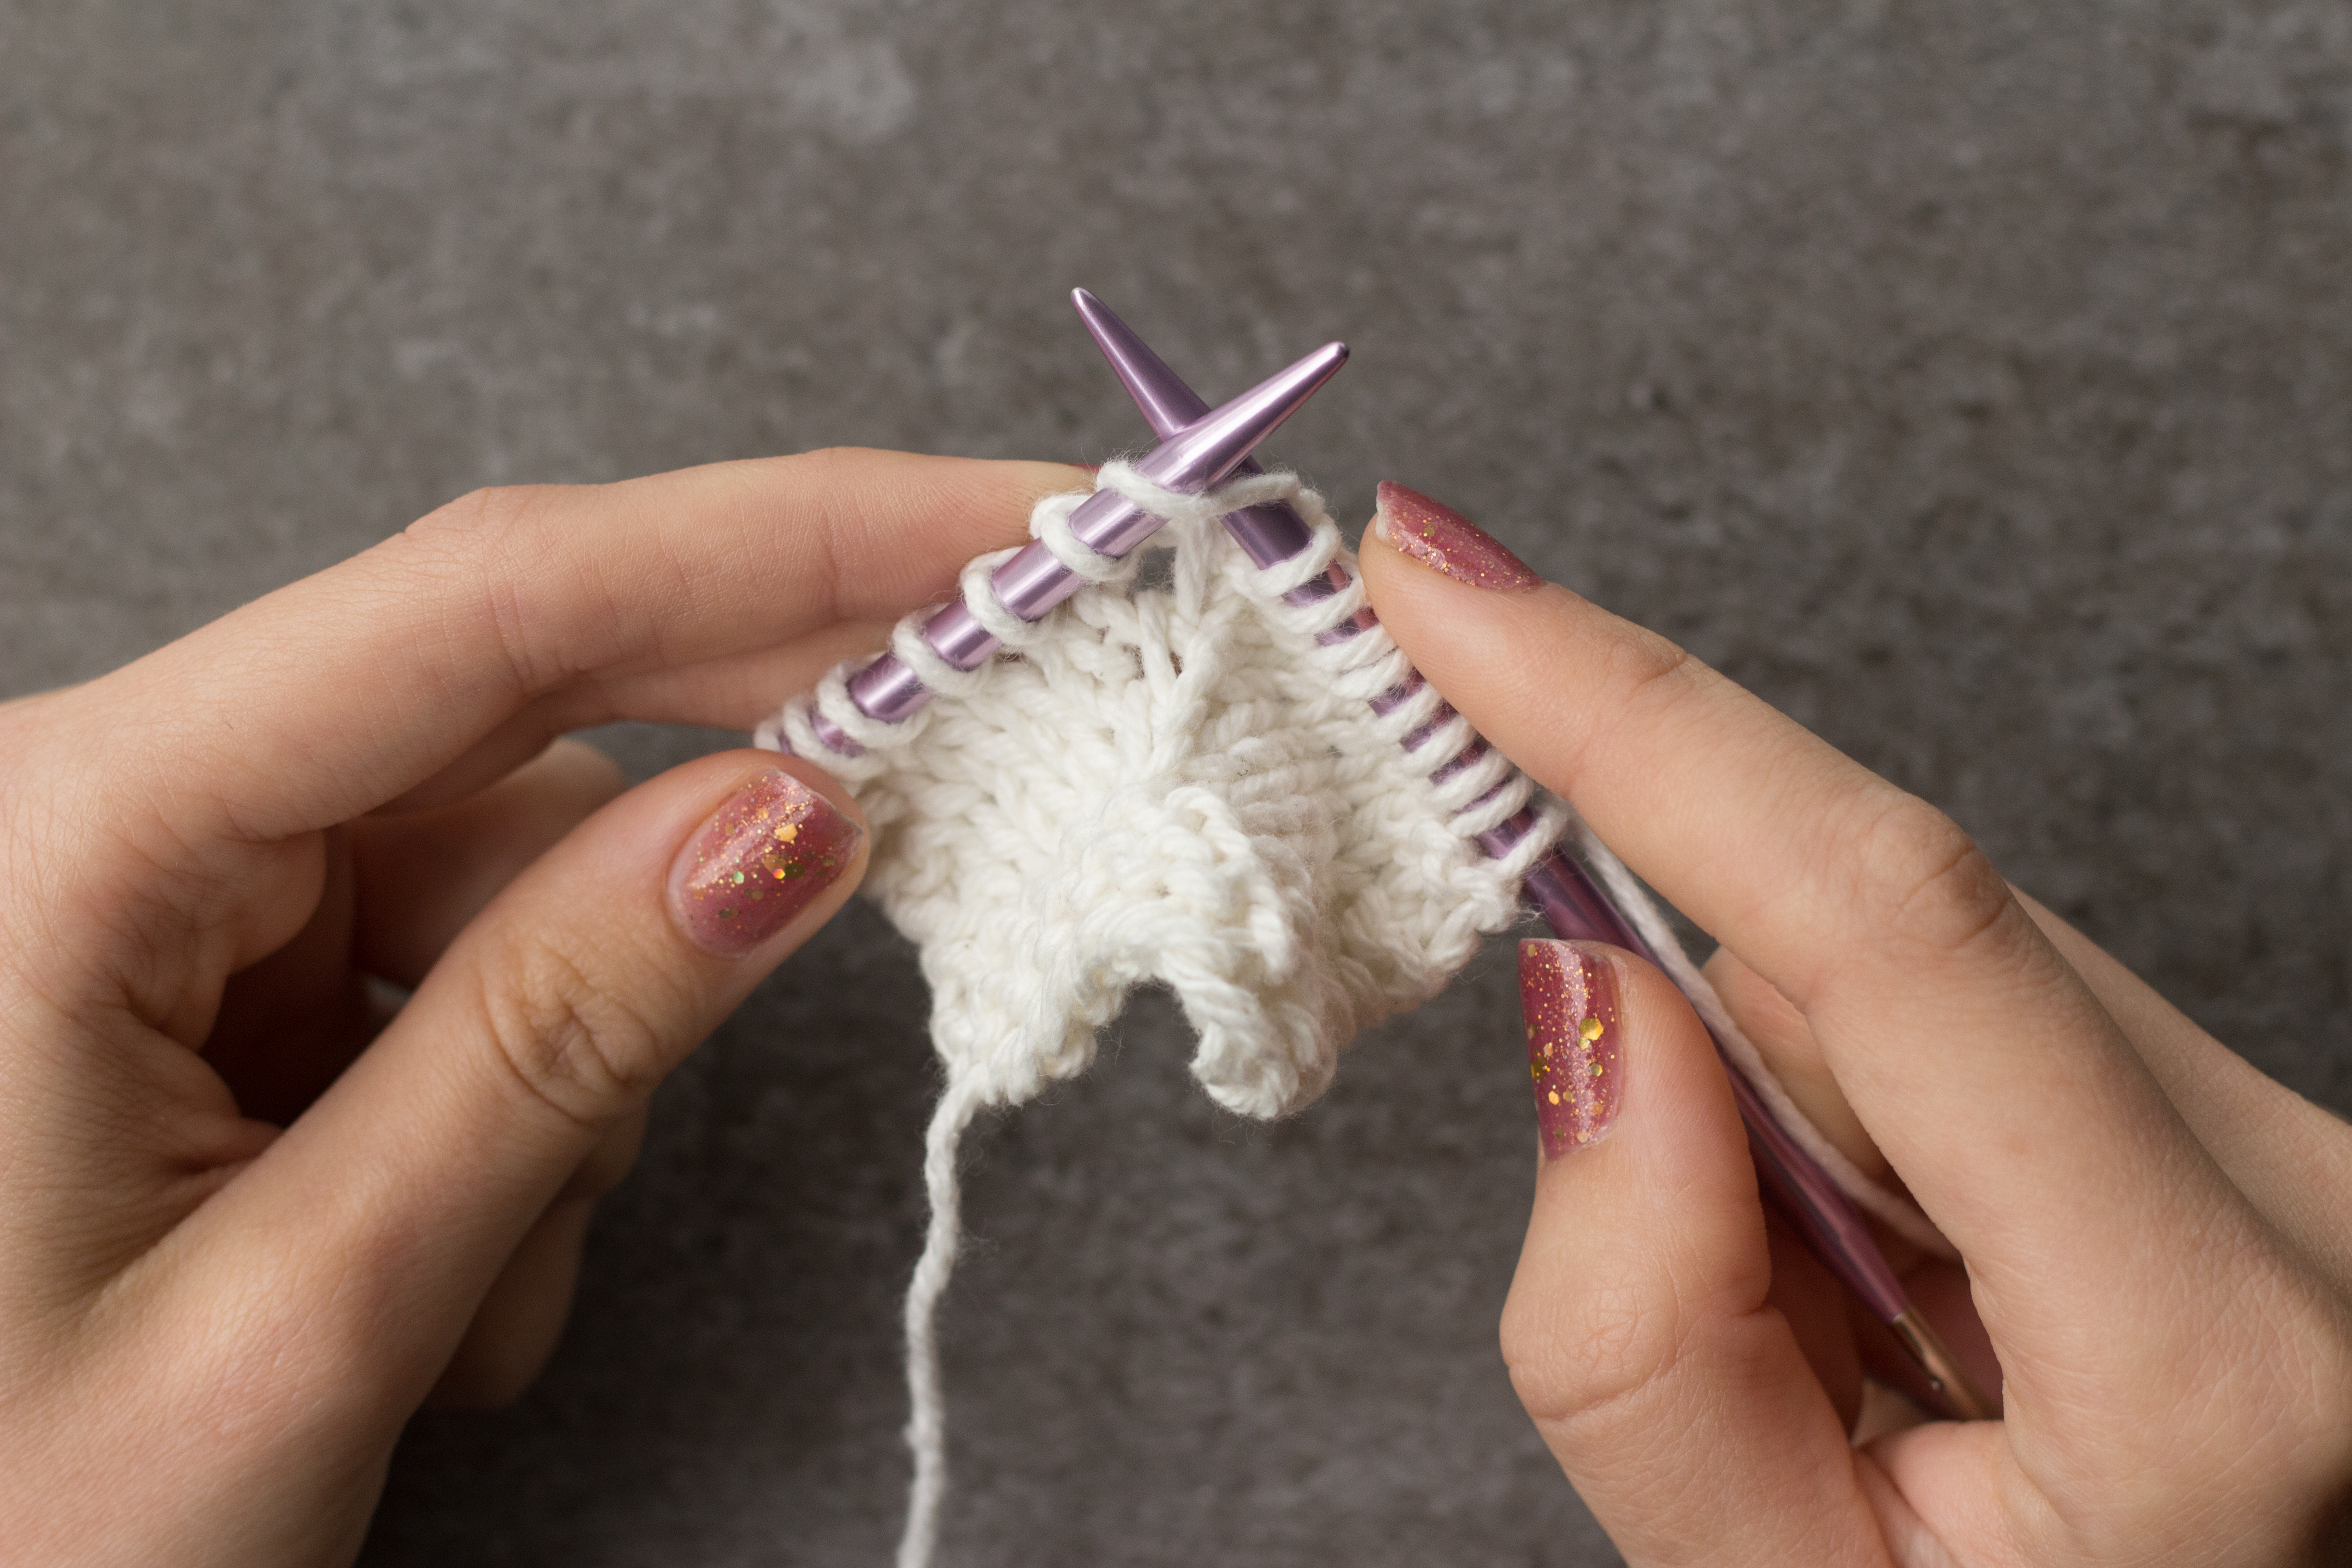
Knit the new stitch. Notice the leftward-leaning nature of the new stitch.
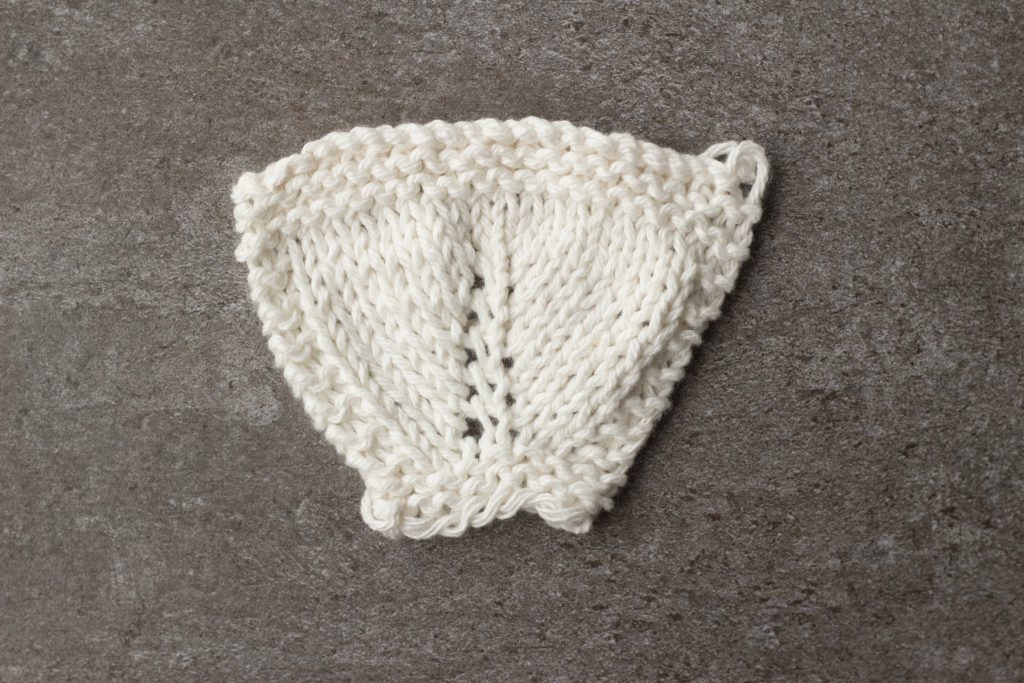
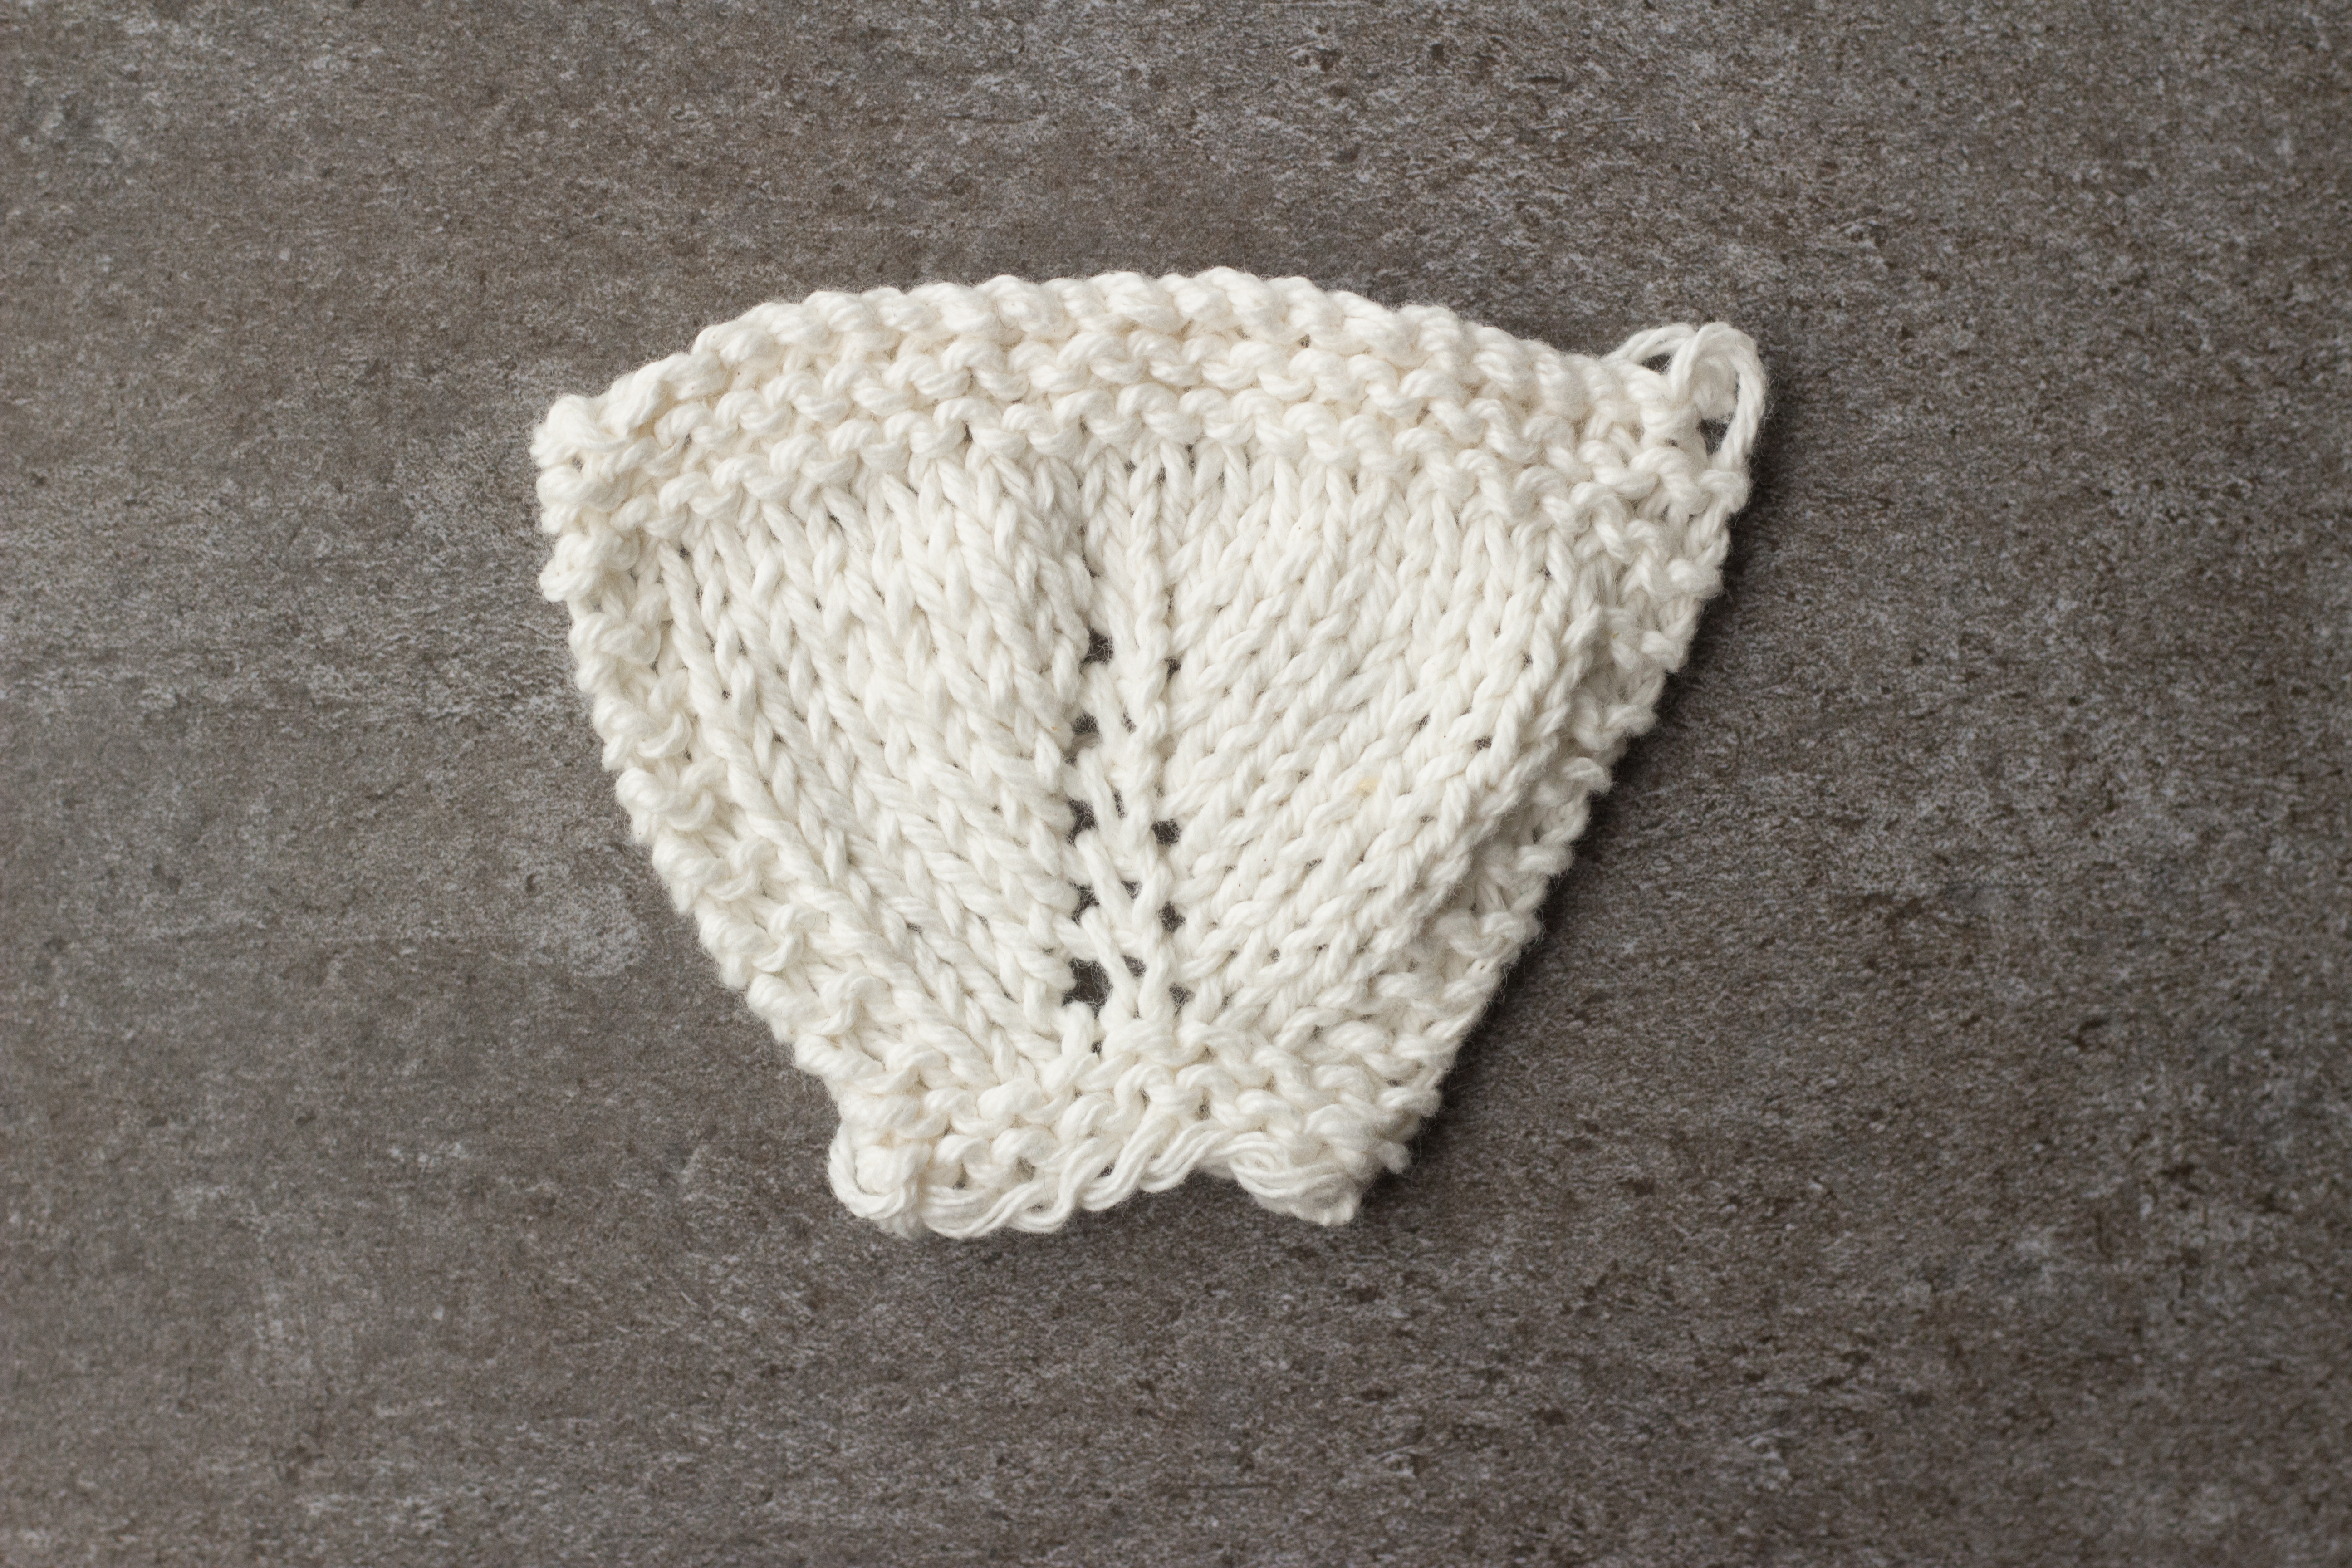
Below, you’ll see an example of a set of increases on a knitted swatch. On the left, M1L was used aside the center stitch, and on the right, M1R was used. Notice how these two stitches together create a nice, symmetrical increasing effect. This type of technique is very popular in garments, since the holes it creates where the increases have occurred in the work are minimal and tastefully decorative, unlike the equally-as-popular YO (yarn over), which creates larger, more pronounced holes.
M1 in a Pattern: What Do I Do?
When you come upon a pattern that simply reads “M1,” you need to take a good look at the pattern. Does the M1 appear in two opposite places in that line of the pattern? If so, it may serve you best to use M1L for the M1 on the left side of your work, and M1R for the M1 on the right side of your work for symmetry’s sake.
If there doesn’t appear to be any symmetrical pattern of M1s in the pattern, or it only appears once in that section of the pattern in order to increase to a different number of stitches, the choice is yours! Typically, when the direction of lean of the new stitch is important, a designer will specify whether the stitch should be M1R and M1L. If they fail to do this, it’s fair game.
I always have trouble remembering to go into the front or the back of stitches when doing M1L and M1R. I heard a great way of remembering this a while back. “He’ll be RIGHT BACK.” “He LEFT through the FRONT door.” I hope this helps you remember as it does me.
Thank you I can knit but really am a new knitter. So I enjoyed reading your directions they were really clear. Thank you for the pictures.
Wow! Thank you so much! Your examples and the way you explain everything is very easy to understand. I really love the pictures. I am a visual learner and I can do this, no problem. I can knit a little, but I am trying to better my skills.
Can you confirm that on both M1R and M1L that once you’ve picked up the ladder and it is on your left hand needle you always knit the stitch knit wise? By that, I mean you don’t have to knit into the back leg of the stitch on the M1L and the front when M1R? Thank you
I need to see the stitches in motion, YouTube style, pictures do nothing for me; I’m literally a vision learner.
Thank you, the directions are very clear and easy to understand.