
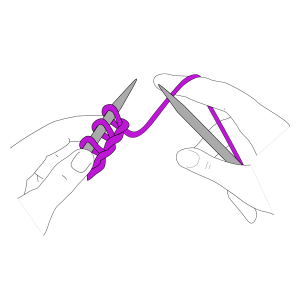
Follow along to learn how to do a three needle bind off!
View Project
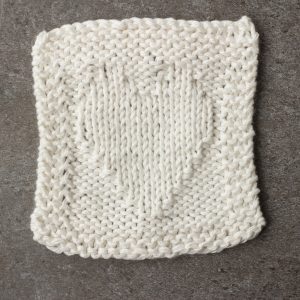
From the Knit Your Best Year Ever: 19 Knit Stitches, Tips, Tricks and More issue
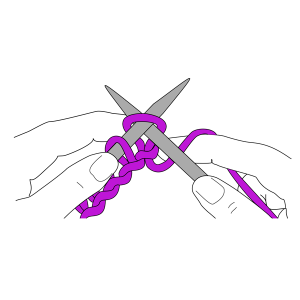
Follow along to learn how to do a three needle bind off!
View ProjectFrom the Knit Your Best Year Ever: 19 Knit Stitches, Tips, Tricks and More issue
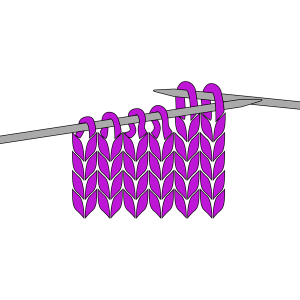
Learn how to do a basic bind-off with this quick tutorial!
View ProjectFrom the Knit Your Best Year Ever: 19 Knit Stitches, Tips, Tricks and More issue
Learn how to do the basic purl stitch with this quick tutorial!
View ProjectFrom the Knit Your Best Year Ever: 19 Knit Stitches, Tips, Tricks and More issue
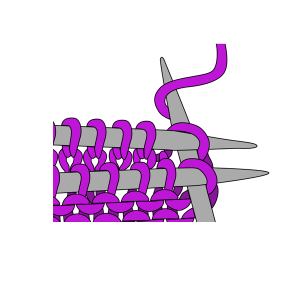
Learn how to do the knit stitch!
View ProjectFrom the Knit Your Best Year Ever: 19 Knit Stitches, Tips, Tricks and More issue
Learn how to do a cable cast on with this tutorial!
View ProjectFrom the Knit Your Best Year Ever: 19 Knit Stitches, Tips, Tricks and More issue
Learn how to do a long tail cast on with this tutorial!
View ProjectFrom the Knit Your Best Year Ever: 19 Knit Stitches, Tips, Tricks and More issue
Learn how to do the knitted cast on with this tutorial!
View ProjectFrom the Knit Your Best Year Ever: 19 Knit Stitches, Tips, Tricks and More issue
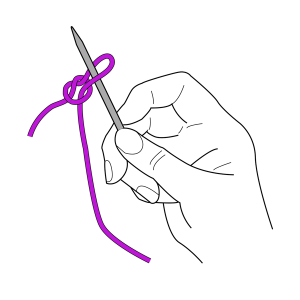
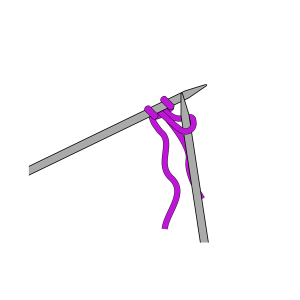
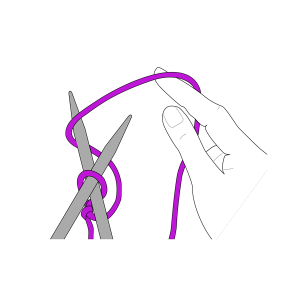
Learn how to do a slip knot with this tutorial!
View ProjectFrom the Reverse Stockinette Stitch: How to Design Reversible Knitting Patterns for Scarves, Shawls, and Afghans issue
Designing knitting patterns is equal parts a wonderful creative outlet and a frustrating, tedious process. Budding designers everywhere are faced with one particular problem when it comes to scarves, blankets, dishcloths, and other flat pieces that you don’t need to worry about with garments like hats and gloves: the wrong side. You’ll find yourself faced with two options when you’ve chosen a flat-knitted piece: you can create what is often a more intricate and beautiful design on one side of the item and try your best to only display the right side of the accessory, or you could attempt to design a reversible piece. One of the most interesting ways to make a piece reversible is through the use of reverse stockinette stitch.
View ProjectFrom the Slip Stitch issue
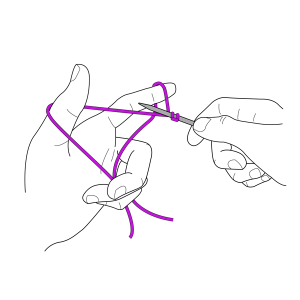
Before starting the slip knot, decide which method of casting on you want to try. If you choose the long-tail cast-on method, leave approximately an inch for every stitch that you’re about to place on the needle. For the knitted cast-on, leave eight to ten inches between the end of the yarn and the slip knot.
View Project