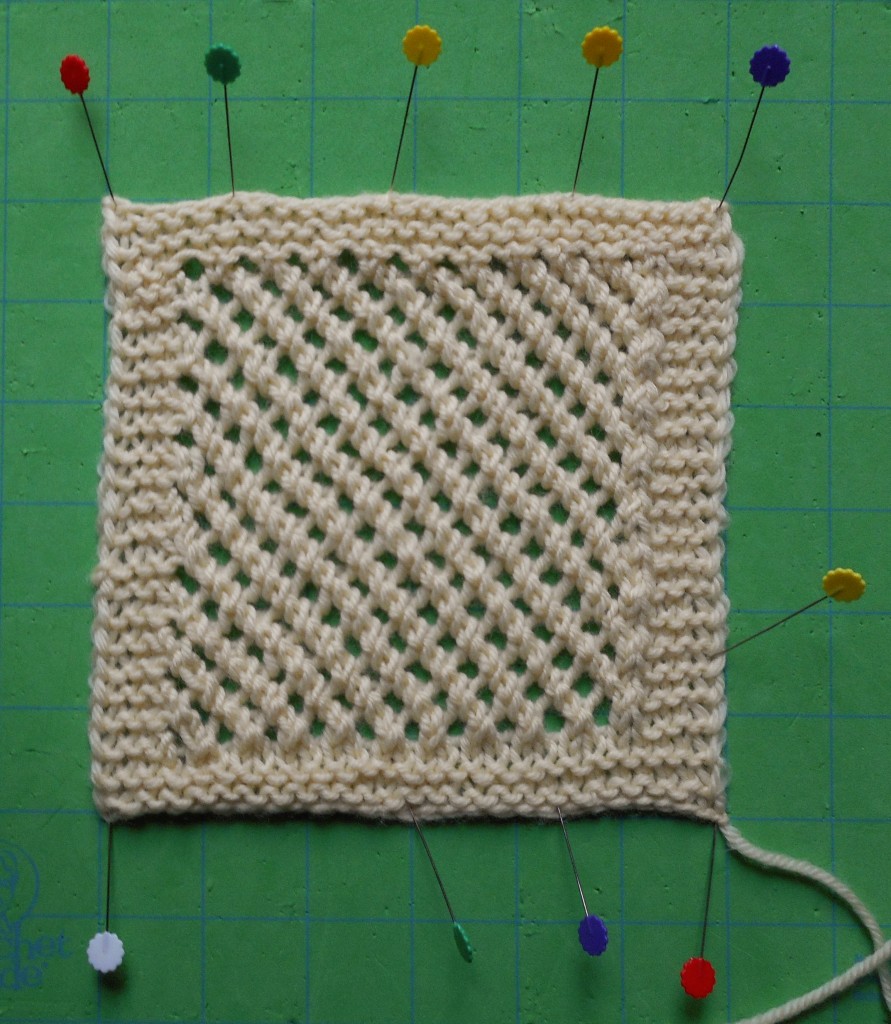
While there are knitters who block each and every projects and some that don’t block any, most knitters take the middle ground by blocking some of their projects. Unsure about whether you should block or not? And actually, what is blocking? Keep reading and follow these easy tips for best results.
What is blocking anyway?
Consider for
While there are knitters who block each and every projects and some that don’t block any, most knitters take the middle ground by blocking some of their projects. Unsure about whether you should block or not? And actually, what is blocking? Keep reading and follow these easy tips for best results.
What is blocking anyway?
Consider for a moment the life your yarn has led. It started out on an animal, as a plant or as a synthetic material, and then, through several stressful processes, it was transformed into yarn. It was wound into a hank or a skein as it travelled to the yarn shop, and then possible wound up again into a ball when you got it home. It might have sat like that for weeks, months or years before you even began knitting. And then, it might have been stitched too tight or too loose or even been ripped back from your project a few times. Finally, it was transformed into a specific project. Once you bind off, the yarn begins the process of relaxing into its final fabric form.
Blocking is a way of speeding up (and controlling) that relaxation process. When you block a project, you nudge it (or force it!) into its final form while making your project easier to wear or use. Blocking is also a great way to adjust sizing and shape and even to fix minor inconsistencies in your project after it is complete.
So, how do I get started?
Blocking requires a small amount of equipment, mainly pins, blocking wires, blocking boards, a small spray bottle, and a steam iron or steamer.
- Pins: Pins are used to hold your project in place while blocking. Because blocking pins will be exposed to water, always choose stainless steel or another material that is resistant to rust. T-pins or quilter’s pins both work well.
- Blocking Wires: Many knitters find blocking wires helpful for blocking large projects, like sweater backs or blankets, or curved projects, like crescent shawls. Blocking wires are rust-resistant wires that come in several sizes to guide your project into the right final shape or size without leaving “pin points.” In general, you need fewer pins when blocking with wires so they are particularly suitable for delicate projects.
- Blocking Boards: Blocking boards provide the surface to allow your project to dry while blocking. Because you will be securing your project with pins, it helps if the surface is one that allows pins to be inserted and removed easily. Specialized blocking boards and mats are available in several sizes from knitting retailers, but many knitters use children’s foam play mats while others make their own blocking boards using online tutorials. When using colored mats, be sure to place a towel or sheet between the project and the mat to avoid color transfer.
- Spray Bottle: Water is the key ingredient for blocking. A spray bottle helps you to apply just the right amount, or add some more as needed for a challenging piece.
- Steam: Some methods of blocking require steam. You may find a steam iron or a household steamer helpful.
How do I block my project?
There are several methods of blocking. The most common are spray blocking, wet blocking and steam blocking. Many patterns include blocking tips or instructions, but if you substitute a different yarn than recommended in the pattern, you may need to change to a different method because each of these methods impacts yarn differently.
If your project includes multiple pieces that will be assembled such as for a sweater knit in pieces or a bag, it is generally advisable to block each piece before assembly. This allows you to nudge the pieces into the best sizes and shapes for assembly, and avoids puckering after seaming.
If your pattern doesn’t include blocking instructions, or if you are working with your own design or a yarn substitution, remember that it is easier to “block more” than it is to “unblock.” You may want to start with the least invasive method (spray blocking) and get progressively more aggressive about blocking if your final project hasn’t achieved the look you wanted.
- Spray Blocking – This method is the least aggressive and avoids a flattened appearance. It is suitable for use with all types of yarn. To spray block your project:
- Pin your project to shape or size, using as many pins as necessary to avoid adding artificial points to your final project.
- Spray with cold or room temperature water and adjust pins as necessary.
- Allow your project to dry naturally and then gently remove pins.
- Wet Blocking. This method is slightly more invasive and is most suited to projects that will be washed frequently or which need significant shaping adjustments (like lace projects that need to “open up.”). To wet block your project:
- Wash your project (or pieces) following the washing instructions for your yarn. If you are hand washing, do not wring your project out. Instead, wrap the wet project in a towel and gently press out excess water.
- Pin your project to shape or size, using as many pins as necessary to avoid adding artificial points to your final project.
- If you need to, spray with cold or room temperature water to adjust pins as necessary.
- Allow your project to dry naturally and gently remove pins.
- Steam Blocking: This method is the most aggressive blocking technique and should be used with caution on non-elastic yarns that tend to stretch easily. To steam block your project:
- Pin your project to shape or size, using as many pins as necessary to avoid adding artificial points to your project.
- Place a pillowcase over the area you are steaming, and apply steam to the project until it is moist.
- If using a steam iron, avoid pressing the iron directly on the knitted fabric.
- Allow your project to dry naturally and gently remove pins.
Now that you know the basics of blocking, give it a try! Choose the method that is most comfortable for you and seems to work best with the yarn and project you have knit. 


I will soon be ready to knit a tunic length pullover sweater of bulky wool. Can you tell me what the most appropriate method is for me to use, its all stockinette with a k1p1 binder.
How would you block a toddler’s hat?