

Think tie-dye is only for t-shirts? Think again! Tie-Dye is a resist dyeing technique, which involves tying the fabric to prevent dye from reaching every portion of the fabric. The result is a colorful piece of fabric featuring unique white swirls, starbursts and lines, depending on how you tie it prior to dyeing.
Tie dye has been used on woven fabric from ages, but it’s not widely used for hand-knitted fabric, as it does pose a unique challenge. Because hand-knitted fabric is not as dense or as tightly woven as its fabric counterpart, it’s harder to prevent the dye from seeping into the tied pieces of fabric. But don’t let that stop you from giving this a try! With the right technique, knitters can create their own colorful pieces that are just as stunning as tie-dyed t-shirts.
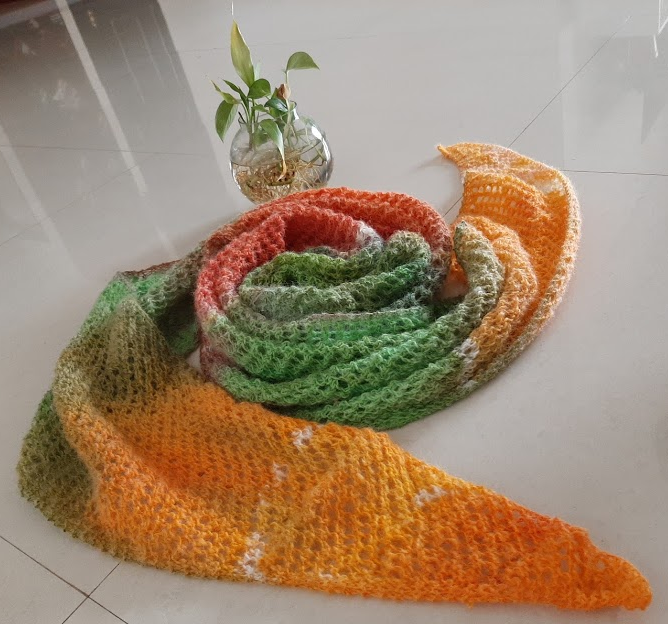
This article will explain how you can tie-dye the Winter Sunset Tie-Dye Scarf. Please note: this technique only works for pure wool yarns, so make sure the yarn you’re using to tie-dye is from an animal source before you start dyeing.
Materials:
- A completed Winter Sunset Tie-Dye Scarf made with wool yarn
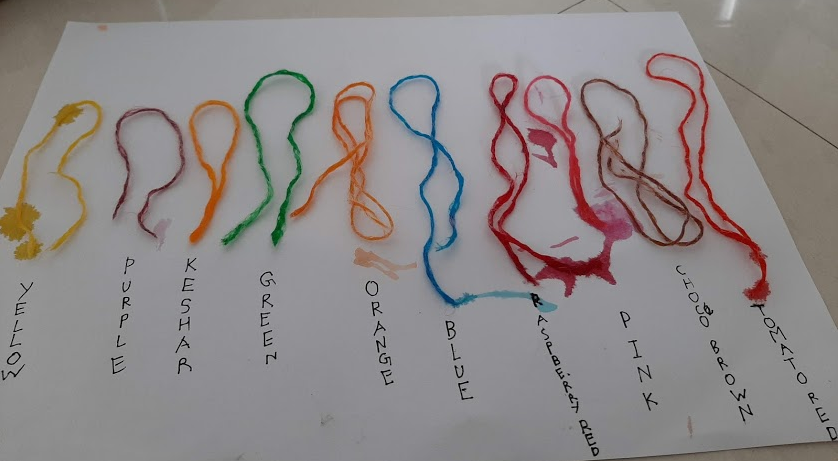
- Food Coloring, in either liquid or powder form. The number of colors is up to you. Get creative!
- White vinegar (natural or synthetic)
- Twine
- Disposable gloves
Instructions
- First, prepare your vinegar bath by mixing vinegar and water together in a large pot. Add 2 tsp of vinegar for every 1 liter of water.
- Place the scarf in the bath and let it soak for 10 minutes. Gently squeeze the wrap to remove as much water as you can, taking care not to agitate the wrap. Use towels to squeeze out the water further. Lay flat to dry.
Note: One could dye the wrap immediately without drying it, but I do not recommend this, as wet fabric tends absorbs dye too easily. The colors may seep through into areas you do not want dyed. - Once your scarf is dry and ready to dye, prepare the dye bath. You will need to make a separate dye bath for every color you want to use in your project. To prepare a bath, bring water to a gentle boil and add your food coloring of choice. Gently stir to mix the color evenly. Let the water cool down enough so that it is safe to work with.
- At this point, I recommend testing each dye bath with a separate piece of white wool yarn (ideally the same yarn that you used in your scarf) so you can see what the color will look like once it’s applied to the yarn. To do this, soak the yarn piece in the bath for a minute, take it out and let it dry. The color will fade after the yarn dries. Once dry, this will be what the color that will appear on your project. If you feel the color is dull, then experiment with adding more food color to the dye bath and test again. Once you’re happy with your selection of colors, move onto the next step.
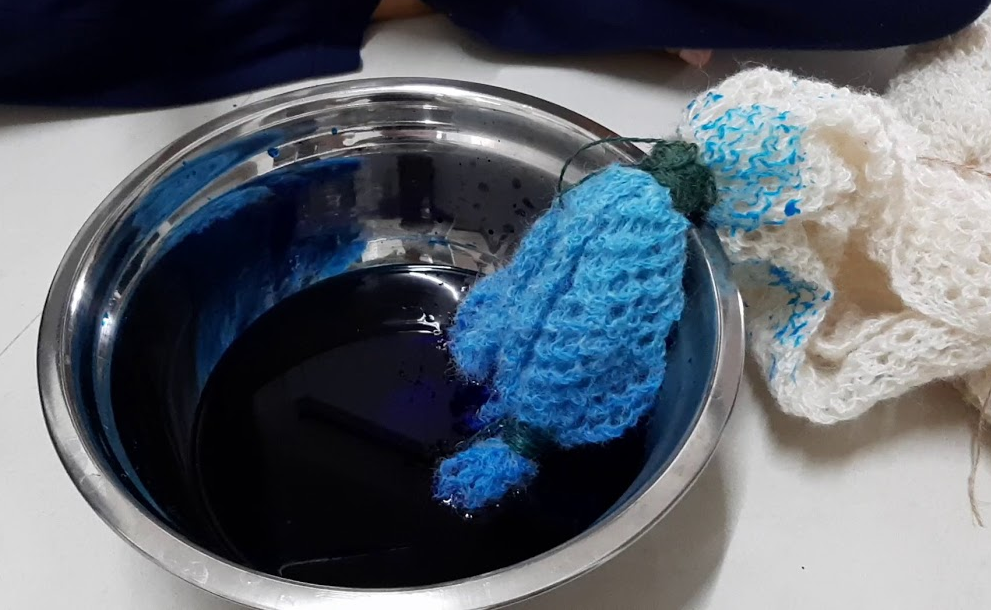
- Now it’s time to time to tie your scarf. This is the most important step. Using the twine, tie the scarf at different places as shown in the photo. Feel free to tie yours differently, depending on the design you want to achieve. More twine will mean more white, un-dyed spaces. Make sure the ties are tight and broad. If they are too loose or too narrow, color will seep into the tied portion.

- Now it’s time to dye your scarf! Dip your scarf in the dye baths. Dip different portions in different colors to get a variegated look. You can dip the same portion in different colors to get a gradient look. Let the wrap rest in the dye bath for a minute or so. Squeeze out the water as much as you can. Note: If you are using different colors, then let the scarf dry a little before you dip in the next dye bath. This is to prevent the colored water seeping into the other portions of the fabric.
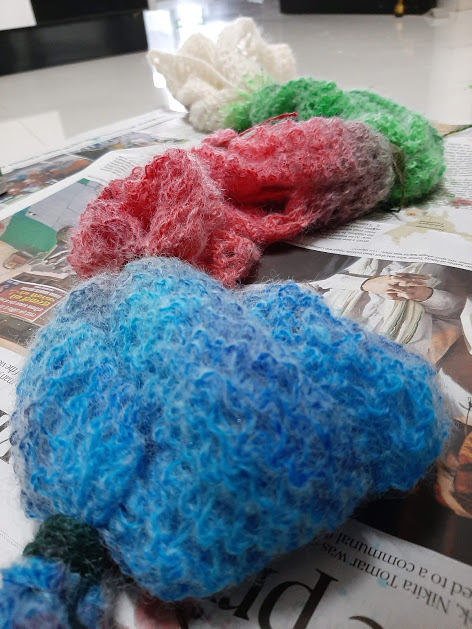
- Once you have dyed the scarf to your heart’s content, lay it flat on a newspaper to dry.
- After the scarf is dry, undo the tied portions. Let the wrap completely dry.
- Flaunt your finished piece! Once your scarf is dry, you’re ready to wear it. We can’t wait to see what beautiful combinations you come up with.
This is really, really neat! Love it!
Thank you, Barbara. Do try it out and let me know how it turned out.
Loving this idea…and tutorial ..thank you Anjali…
Thanks Nimida. Cannot wait to see your unique tie-dye scarf.