

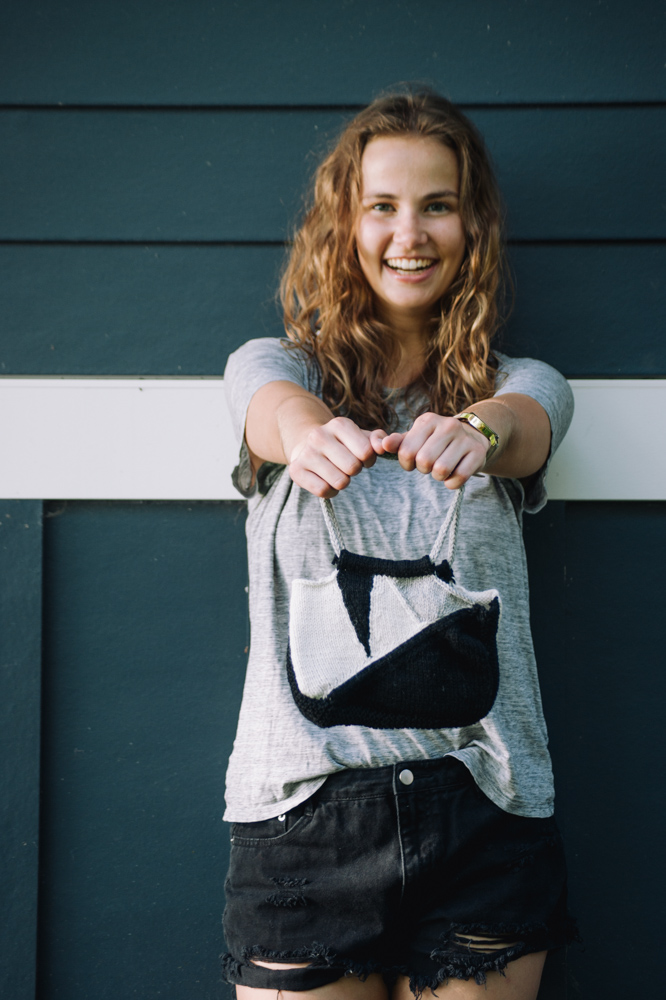
Mini purses are trending and this mod mini purse is the knitter’s version of this tiny trend. Using colorwork to create sleek and angled lines between shades of white, gray and black, this is an excellent project for beginner intarsia knitters.
Time: Week or Less Project
Skill Level: Intermediate/
Size: 8” wide x 6” deep
Gauge: 25 sts and 32 rows = 4” [10 cm] in St st after wet blocking
Materials
 Yarn: Cascade Yarns Cascade 220 (100% Peruvian Highland Wool; 220 yards [200 meters]/100 grams): 8555 Black (C1, 1 ball), 8010 Natural (C2, 1 ball), 8401 Silver Grey (C3, 1 ball)
Needles: US size 4 (3.5 mm) 24” straight or circular and DPNs
Notions: Tapestry needle
Special Stitches
LLI (Left Lifted Increase): With left needle, lift the sts below the st just worked and knit it.
RLI (Right Lifted Increase): With right needle, lift the st below the next st and knit it.
I-cord
CO 3 sts on a DPN.
I-cord Row: Instead of turning the work, keep the right side of the knitting towards you. Slide the 3 sts to the right side of the needle, knit the 3 sts.
Rep I-cord row until piece measures long enough.
Pattern Notes
Handbags require denser fabric than clothing, this pattern is intended to be knit with a worsted weight yarn worked at a denser gauge than would be typical in order to make the fabric sturdier.
If you buy a yarn that lists it recommended gauge the same as this pattern your purse won’t hold its shape as well. Cascade 220 (the yarn used in the sample) is ideal since it’s wool and the right thickness.
Prior to beginning take time to wind a small ball of C1 and C2 (black and white in the sample), so you’ll have the main ball and the second ball of these two colors.
Pattern
Side Panel (Make 2)
CO 42 sts in C1 and 3 sts in C2.
Use the colorwork chart (increases and decreases are a defining part of the colorwork).
Wet block aggressively.
Edge Strip
Using C1, CO 6 sts.
Knit each row until piece measures 18” from CO edge.
BO all sts.
Straps (Made out of I-cord)
Using C3 and DPNs, CO 3 sts.
Work 16” of I-cord.
BO all sts.
Finishing
Weave in ends.
Assembly
Take one strap, sew the ends together so it forms a loop. Repeat with second strap.
Take one side panel and place it with the right side facing down (shown in grey in the diagram below).
Place the strap over it where the tab extends (the strap is shown in black). Fold the tab towards you (folding at the dotted line) so it goes around the strap (the edge marked in red along the dotted black line). Sew in place.
Repeat with second side panel and strap.
Sew edge strap around the sides and bottom of a side panel (marked in red in the diagram below). Repeat with second side.
Weave in any rem ends.
The color chart and the diagram appear to be missing. Is it in another section and I don’t know where it is?
Hi Julie! Over on the right hand side of the page all the way below the photos is where you can find the diagrams. Let me know if you have any further questions!