

If you are a beginning knitter but are intimidated by the idea of trying new patterns and techniques, stop and relax, this is the perfect pattern to get you started. It’s really straight forward, doesn’t need a lot of yarn or different notions and you’ll probably finish it in less than a week. Finishing something gives such a sense of accomplishment and it’s good to have that at the start of your knitting journey.
Skill Level: Beginner
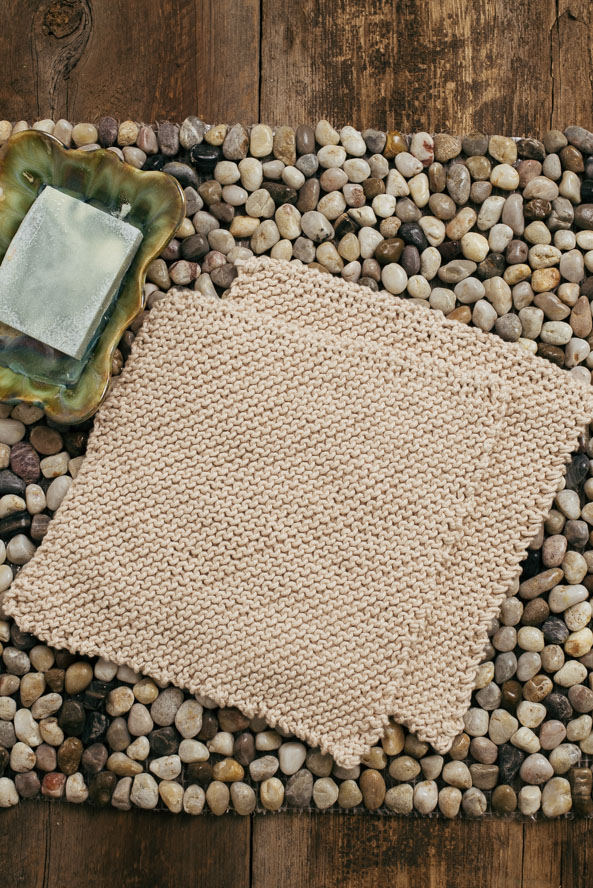
Size: About 8” square.
Gauge: 16 sts and 32 rows = 4” [10 cm] in garter st.
Gauge is how many stitches and rows per inch you’re getting. You need to match the pattern’s gauge in order for the finished object to come out the same size as the sample. You do a little sample with your yarn and needles, then measure how many stitches and rows you’re getting over 4”. If you’re getting too many stitches per 4”, you need to try again with bigger needles. If you’re getting too few stitches, try again with smaller needles. Don’t be overly concerned about gauge with this project. With any sort of clothing or accessory, it usually matters a great deal, but we are learning and are making a square. If you’re pretty close that’s okay, focus on finishing your dishcloth! If you’re getting between 15-17 sts over 4”, you’ll be fine. The final size will just be slightly different.
Materials
 Yarn: Cascade Yarns Nifty Cotton (100% Cotton; 185 yards [169.5 meters]/100 grams): 09 Buff (1 ball)
Needles: US size 7 (4.5 mm) straight
Notions: Tapestry needle to weave in ends
Pattern Notes
If this is the first time, you’re looking at a knitting pattern, the next 6 lines of instructions might look foreign and intimidating, but it’s really very simple and you can do this! The instructions include abbreviations (a master list is linked above). Look at each row and reference the master list. If it helps to write out the instructions in full as you learn, that’s okay! The pattern is short, which is why it’s great for learning! For example, the first row says “CO 3 sts.” If you look at the abbreviations list, you’ll see CO means “cast on” and sts means “stitches,” so the first line means “Cast on 3 stitches.” As you progress to more complicated patterns, the abbreviations make patterns fit on pages better, but the abbreviations are standard and in no time you probably will only need to look up one or two in a project!
Pattern
CO 3 sts.
Inc Row: Kfb, k to end of row. (1 st inc’d)
Rep Inc Row 46 more times. (50 sts)
Dec Row: K2tog, k to end of row. (1 st dec’d)
Rep Dec Row 46 more times. (3 sts)
BO all sts.
Finishing
Weave in your ends.
Celebrate the fact that you just finished knitting something!!!
The site that I accessed said 3 dishcloth patterns free. There is 1 dishcloth pattern and a lot of hype to join your site. And I did not leave a duplicate comment. You don’t like that I am disappointed.
Hi! Here are the free dishcloth patterns you are looking for: https://www.ilikeknitting.com/freebies/lets-dish-3-free-knit-dishcloth-patterns-perfect-for-your-kitchen/
Our site puts all comments into moderation for editors to review, so if you submit the same comment more than once it recognizes it as being duplicate (for instance if you hit the comment button twice as you submit, this can happen.)
Where is the link for the stitch description?
Hi Catherine, can you please clarify your question? Thanks! – Nicola, Editor
Ive been making about 350 dc’s like this per year for years for craft shows. I teach new knitters this patt. or show them how to maka blanket with them in several colors.
great for beginners
It would be extremely helpful if the master list of abbreviation ( which you tell new beginner knitters to read and use) had a descriptions for all of the abbreviations used in a beginner pattern! Isn’t that the point of having a master list. I had to go to youtube to find the answers.
Hi Sharon! Thank you for your feedback! We’ve added this idea to our list of updates to consider. Thank you! – Nicola, Editor
Hello.
What does kfb mean
Hi Veronica, kfb means “knit into the front and back of a stitch”
Hope that helps! – Nicola
how do i download the pattern
Hi Sandra! At this time we do not offer this pattern as a downloadable PDF. You are however welcome to print off this pattern by clicking the green print icon on the left hand side of the screen. Hope this helps! – Nicola
Makes no sense to me cast on only 3 stitches?
It’s a corner to corner (C2C) pattern. The three stitches are in the corner. At the beginning of each row, a stitch is added, at least until you are half finished. Then, at the beginning of each row, you decrease one, until you have reached the other corner.